
The holiday season is usually full of hustle and bustle. I have totally stayed up half the night baking, to make sure that I had something ready when people drop by or to take with me if I got invited to a last minute gathering. I don’t like to go to gatherings empty handed, so I always bring a box of cookies, cupcakes…etc. A great way to avoid the late night baking sessions and be super prepared, is to host your own Cookie Exchange.
(This is also a fun excuse to get together with friends and family before the hustle and bustle begins!)
So…the “Cookie Exchange”…Here’s my thoughts!
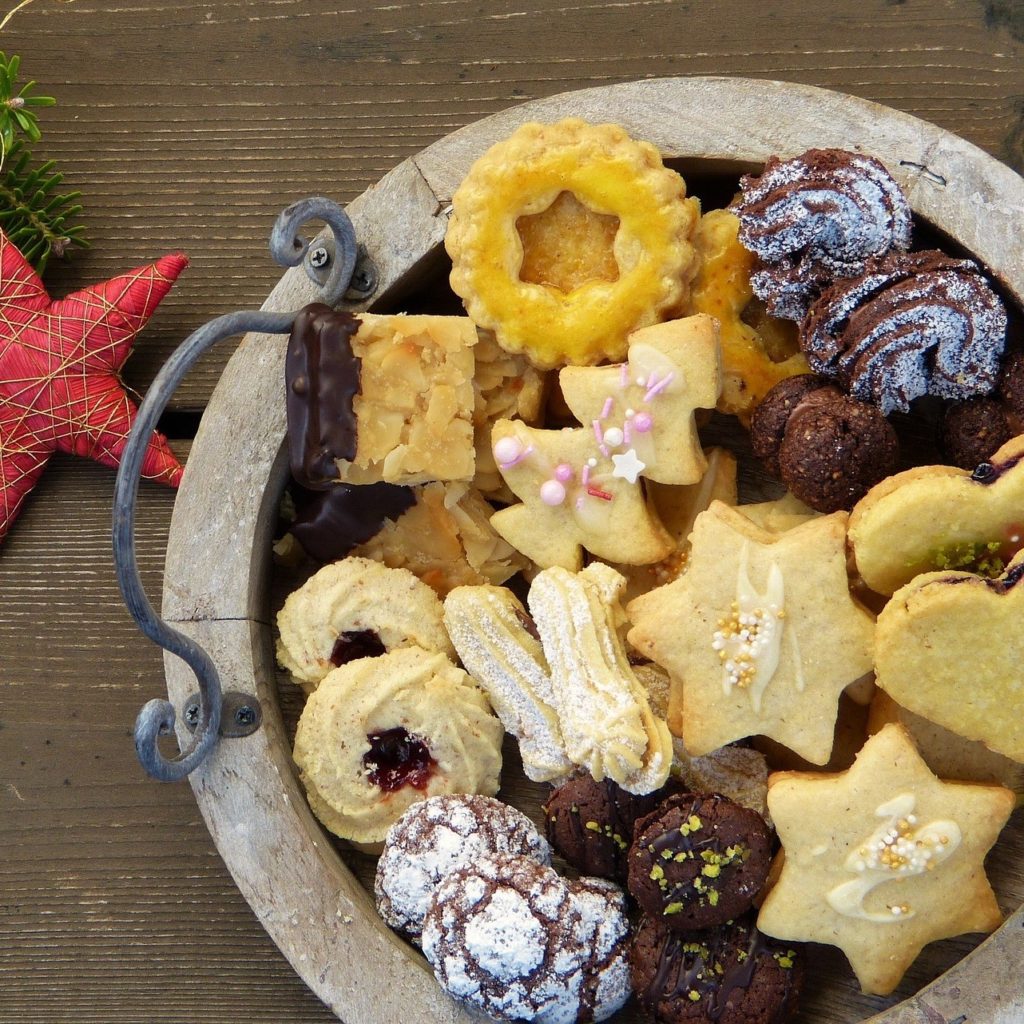
What exactly is a “Cookie Exchange” you may ask? Is it a place where you go to eat cookies? Well…maybe….but really, the Cookie Exchange that I am about to walk you through is a way to amass multiple kinds of cookies without baking them all yourself! And also a way for you to share your yummy cookies with others. Wow, how great is that?
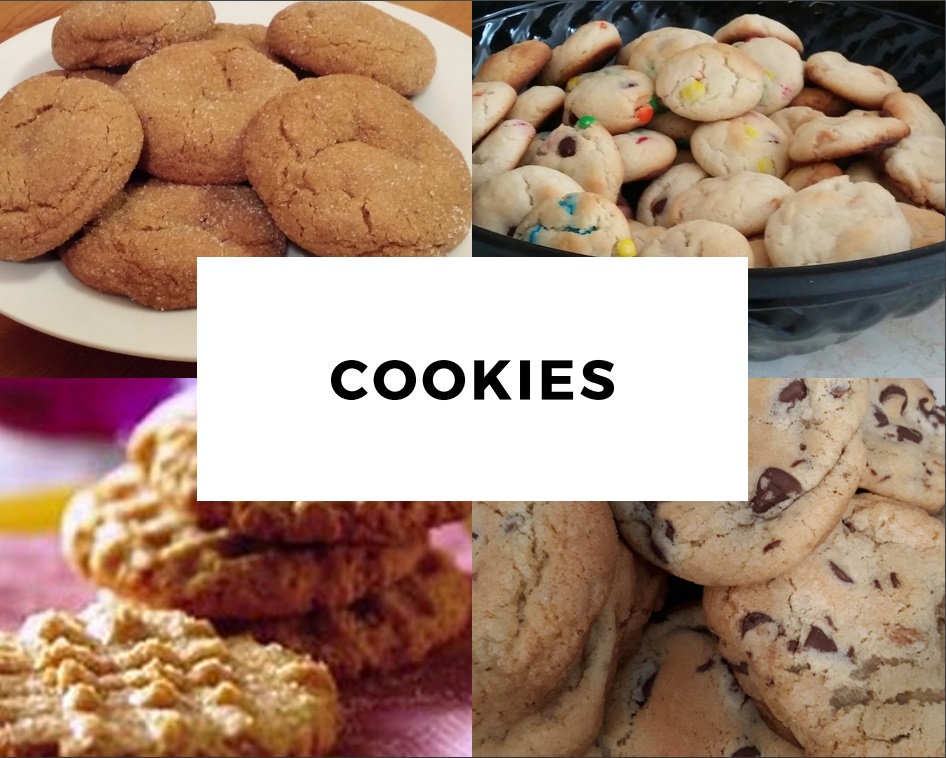
My Cookie Recipes here!
10 Steps to a Successful Cookie Exchange
Step #1 – Decide who and how many to invite
- Choose a group of 8 to 10 friends who you think would like to lessen their holiday workload and not have to do so much baking.
- You can also invite non-baking friends, but you must make it clear that they have to participate by bringing some type of baked goods as well. They can ask a friend to bake for them or pick up from the neighborhood bakery.
- You can invite friends to bring their children if you think that they might not come for lack of childcare. (Set up kid friendly activities if so – see below.)
- Ask friends to RSVP and give yourself enough time to do a second round of invites if you need to get more people to come.
Step #2 – Set a date and time to have your Cookie Exchange
- Pick a date and time that you know will suit most of the people you are inviting.
- If inviting children, make sure the party is early enough that they are not going to be too tired to have fun (or that Mom/Dad will feel obligated to leave early).
- You will want to have the party close enough to the holidays so the cookies will last, but not so late that everyone gets caught up in the last-minute rush. About a week to ten days in advance of the holiday works well.
Step #3 – Cookie Exchange Rules
- Guests should bring home-made (or bakery bought for the non-bakers) and seasonally appropriate cookies.
- All cookies should be baked and decorated by an adult! (If a child is coming, they can bring a plate of their own handmade cookies to share, but they should not be included in the requested amount.)
- The cookies should be able to last for a few days after the party, so make sure they are fresh and don’t have ingredients that will spoil quickly, like a whipped cream topping, etc.
- Cookies that are freezable would be optimum, but not exclusively required.
- And very important…No burnt cookies, please!
Step #4 – Sending invitations – What to write and when should they be sent?
- Invitations should include date and time of the Cookie Exchange.
- Make sure you include the deadline to RSVP and what information they should include (i.e. type of cookie, recipe, etc.).
- Advise the guests on the quantity of cookies they are required to bring. Plan on a half dozen per guests attending. For example, if there will be 10 guests (including yourself), then each guest should bring 5 dozen of the type of cookie they picked.
- Let the guests know that if you are getting responses with all the same kinds of cookies, you may have to ask some people to change up what they were going to bring. Note: Pick the most experienced bakers, who won’t be frazzled by a change in plan.
- Include a list of the rules (see Step #3).
- Make sure your name, the address where the Cookie Exchange is being hosted and a contact number or email is included.
- The invitations should be sent out a month prior to the date of the Cookie Exchange.
- RSVPs should be returned at least 1 to 2 weeks before the date of the Cookie Exchange. This will allow you time to invite others if necessary, as well as lots of time to assemble everything you need to be the most amazing host or hostess!
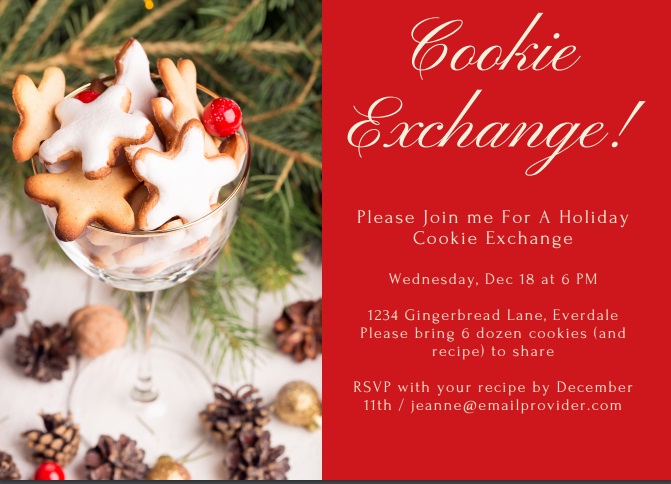
Example of invitation (It can be printed and mailed, or cut and pasted into an email blast):
If printing and mailing your invitations, make sure to include a list of the rules. This can either be on a separate sheet of paper or printed out on the back of the card if there is room.
Click here for help with your Cookie Exchange Invitation wording.
Example of a simple text or email invite:
Happy Holidays Everyone!
This year I’m hosting a Holiday Cookie Exchange. Bring yourself and 5 dozen of your favorite cookies (along with recipes if available) to share with friends. We’ll have food, drink, and of course, lots and lots of cookies!
Wednesday, December 18
6 PM
Jeanne’s House
1234 Gingerbread Lane, Everdale
Reply to this email (or text) or call me at 123-4567 to RSVP by December 11. Please let me know what type of cookies you’re planning to bake, and be aware that you may be asked to switch recipes if we have duplicates. The idea is for everyone to come away with a variety of goodies!
Should be a deliciously good time!
Step #5 – Supplies or equipment needed
- You will need a large table or possibly two, depending on how many guest are coming. If you have a sideboard in your dining room, use that and the table. Mixing in a few footed cake stands will help maximize table space and visual appeal. Cover the surfaces with festive, holiday table cloths or a solid colored roll of paper (this can be found in party supply stores). Get creative, look around the room and see what kind of area you have to use!
- Make sure there are enough festive bowls and platters to hold each guest’s contributions. You will also need enough tongs for each platter, so party guests can make their selections without touching the cookies with their hands.
- Have place cards ready with the types of cookies and who made them and set them in front of the platters for easy identification and selection.
- If the guests have sent in their recipes ahead of time, you could gather them all in a file and have it ready to send to whatever guest requests them. (Or print it out for Great-aunt Sally because she doesn’t “computer” very well.)
- Provide inexpensive paper bakery boxes or bags and festive twine for guests to package and take home their cookies. It’s better to have several smaller boxes per guest because some different cookies types should be kept separate to best retain their flavor. Set these up on a a small table near the cookie displays. They should be in a spot where the guests can grab it and then move to the cookies to start packaging.(If you can’t provide the packaging, ask each guest to bring their own containers, but make sure you include that instruction on the invitation.)
Disclosure: Some of the links are affiliate links, meaning, at no additional cost to you, I will earn a commission if you click through and make a purchase.
Step #6 – Provide other food/drinks
While I am sure that the guests will sample some of the cookies before they leave, you should still provide some form of refreshments for them to nibble and drink while they are there.
- Have something savory on hand to offset all the sugary goodness of the cookies. Base this on what time of day the Cookie Exchange is taking place.
- If you are having a weekend, brunch-time gathering, serve up an egg or breakfast casserole (try an overnight, slow cooker recipe) or mini quiches along with tea/coffee and juice/water. Brunch Recipes to Feed a Crowd
- If you are having an afternoon or evening event, put out some chips and dips or a cheese, veggie and meat tray and serve a sparkling punch or soft-drinks. Party Appetizers to Feed a Crowd
Step #7 – Entertain the kids
- If there will be children attending your Cookie Exchange, then you need to be ready to keep them occupied and out of the main cookie area. This will allow the adults to enjoy the without the little ones underfoot.
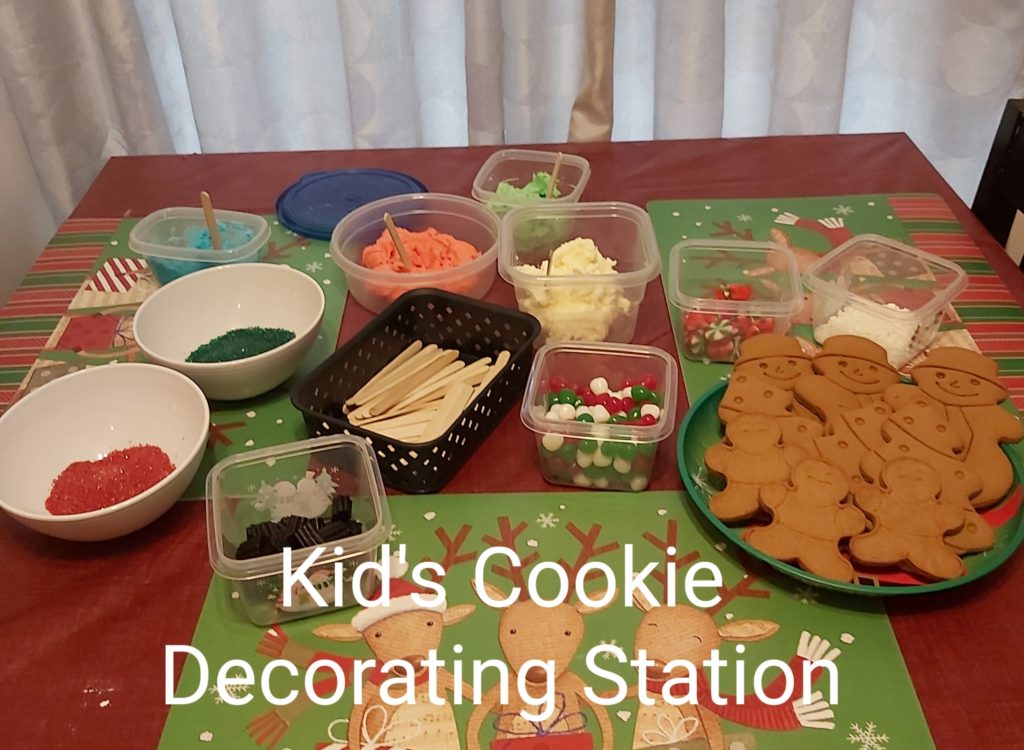
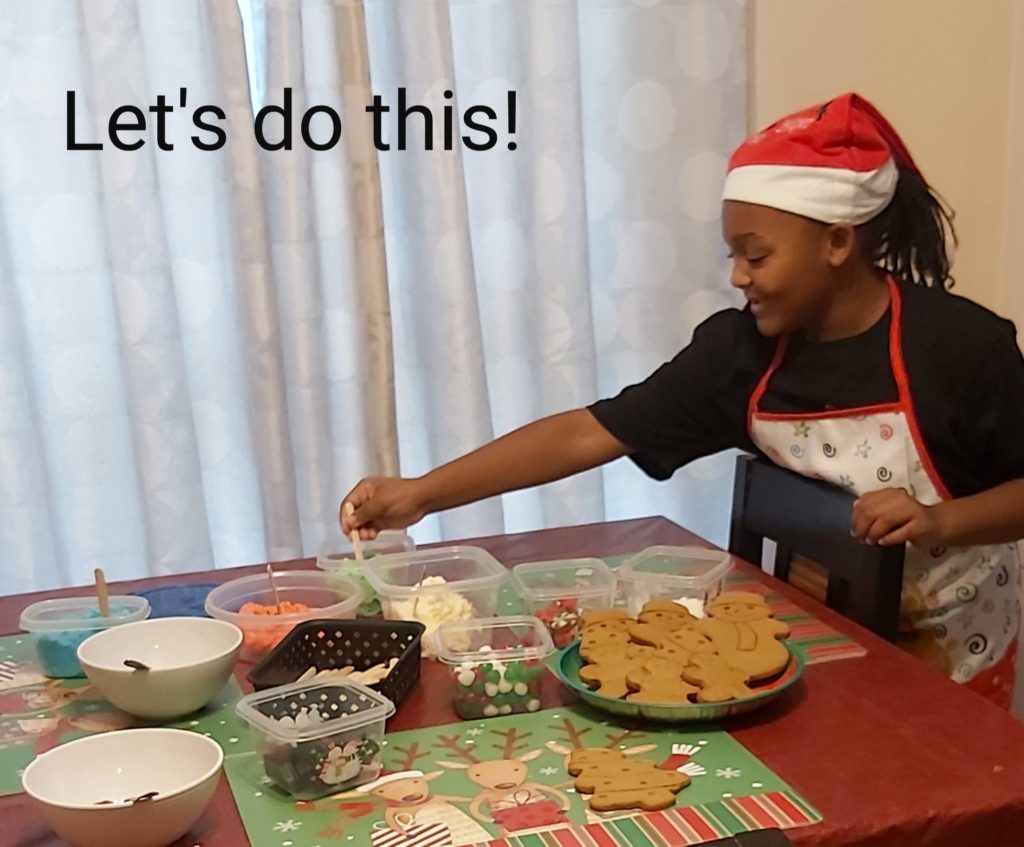
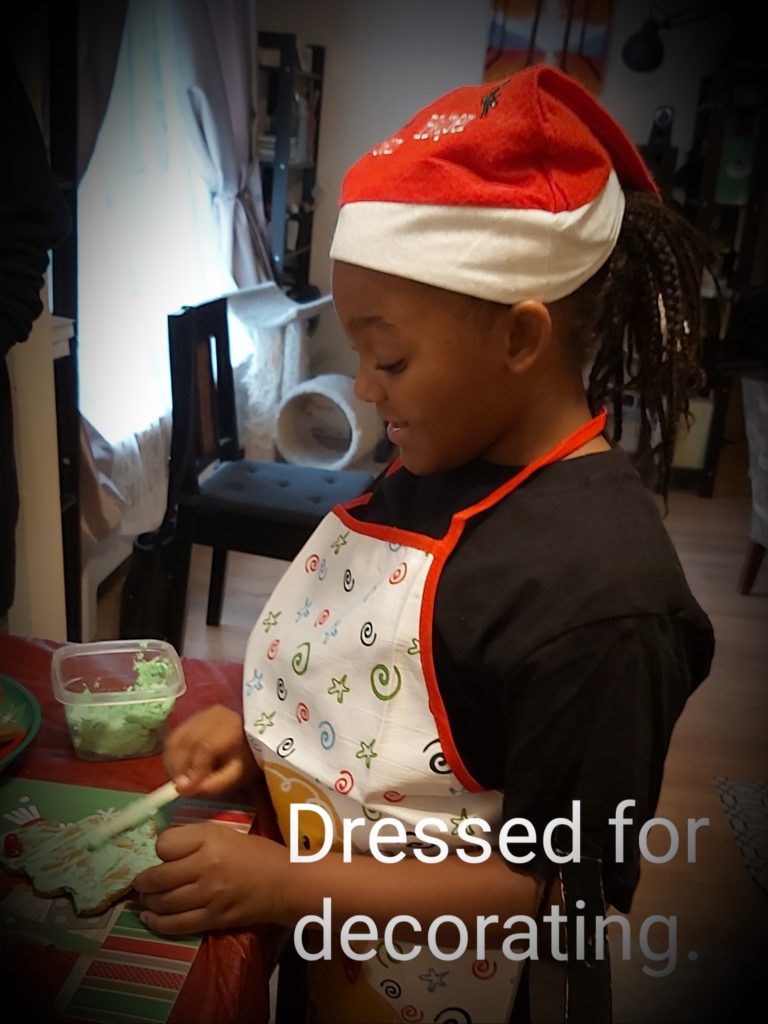
- Set up a small table at the other end of the room with a Cookie Decorating Station. Pick up some un-decorated gingerbread or sugar cookies (stars/people/candy canes) and the supplies needed to decorate them (tubes of decorating icing/sprinkles/M&Ms/jelly beans, etc.) The kids can sit out of the way, but still within Mom & Dad’s eyesight.
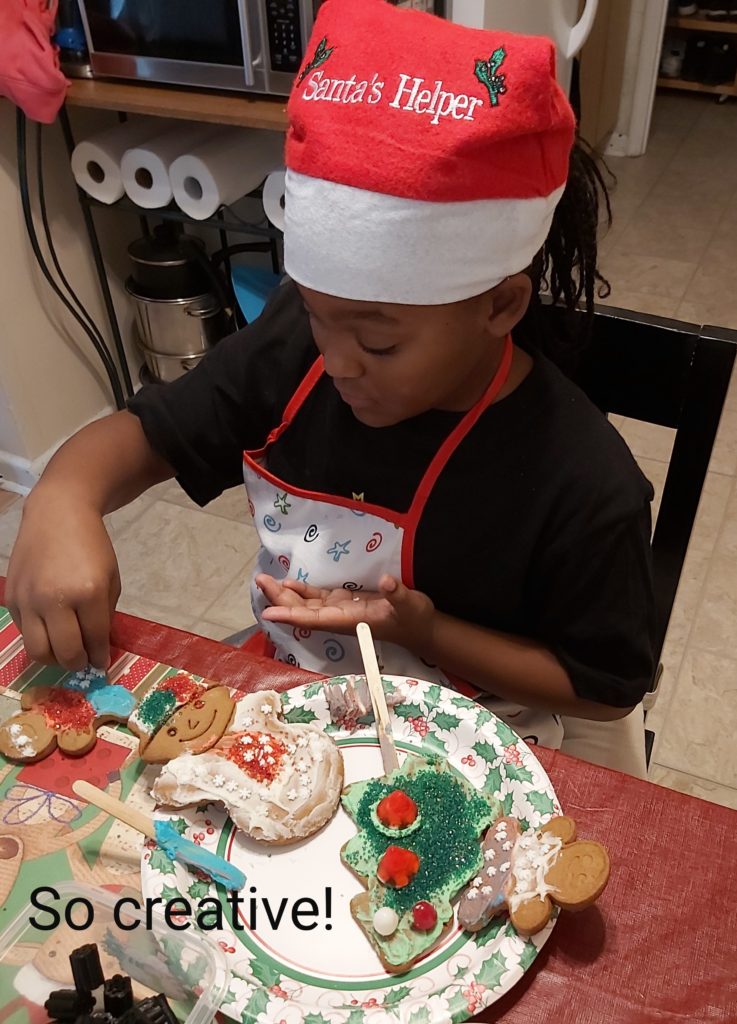
- Not all of the little ones will be satisfied with decorating cookies, but I have yet to meet a child who does not like to color or draw. Print out some holiday coloring pages and have some plastic glasses filled with crayons and some sheets of paper near the Cookie Decorating Station. Stock your front of your fridge with magnets and let the little ones display their drawings in the “Art Gallery” when they are finished.
- Make sure you take pictures of the kids and their masterpieces (if Mom & Dad say it’s OK) and include in a your Thank You email.
- Check out this YouTube video on “Tips for Decorating Cookies with Kids“.
Step #8 – Start “Exchanging”
- By this point, your tables should be set up with all the amazing cookies on display and your containers ready to be filled.
- Have the guests form a line near one edge of the display table and they can start moving around and filling up their containers. Remind them of how many of each type of cookie they should be taking.
- At the opposite side of the cookie display, you should set out ribbons, festive twine or spools of holiday colored ribbon for the guests to tie up their packages of cookies.
Step #9 – Record the moment!
- Take pictures of the tables and displays when it is first set up. You can use this as reference for the next year. See what worked for you and repeat…or see what didn’t and make a note not to try that again!
- If the guests are comfortable with you taking pictures of them, snap away to get some great photo memories. These can be included in your Thank You email. Most people will like to have that as a reminder. But always make sure everyone you snap pictures of gives you permission to use them! Some people might not want their images send around to everyone.
- Keep a list of the people who attended and what they brought. You can use this next year to send out an email blast announcing that you are about to start planning the next “Annual Cookie Exchange”. Make sure you add a bunch of new people as well. Maybe you will get so many folks interested, that you can get one of your friends to host a separated Cookie Exchange party.
Step #10 – Send out Thank You emails/cards
- This is a very important step! Even though everyone went home with dozens of cookies and had a great time visiting, you still want to let them know that you appreciated all the effort they put in as well.
- You can do one general email and send it out to everyone or if you have time, personalize each email by mentioning their name and what they contributed to the Cookie Exchange.
Example of a general email thank you:
Hello Everyone!
I just wanted to thank you for attending my first Annual Holiday Cookie Exchange.
I hope everyone had an amazing time and is enjoying all the incredible goodies that you took away with you.
If you haven’t had a chance to share your recipe with me yet, now’s the time! I would love to be able to compile them into one file in case someone asks for one of them.
Start thinking about what you want to bring to the Second Annual Holiday Cookie Exchange now and wow us even more next year!
I have attached some pictures so you can see what a blast was had by all!
Wishing You and Yours all the best this Holiday season!
Jeanne
How to make it personalized:
Hello Aunt Sally!
I just wanted to thank you for attending my first Annual Holiday Cookie Exchange.
I hope you had an amazing time and both you and Uncle Frank are enjoying all the incredible goodies that you took home.
I know you haven’t had a chance to share your recipe with me yet, but now’s the time! I would love to be able to add your recipe into my file in case someone asks for it.
Start thinking about what you want to bring to the Second Annual Holiday Cookie Exchange now and wow us even more next year!
I have attached some pictures of everyone that was there, including when you thought you were sneaking the cookie to little Janie. Hahah. You got caught!
Wishing You and Uncle Frank all the best this Holiday season!
Love from your favorite niece,
Jeanne!
Now that I’ve shared all my tips on how to host a Holiday Cookie Exchange, I would love to see some pictures from yours! Use the comment box below to share some of your own ideas or just let me know how your exchange turned out.
You can send your pictures to contactme@jeannesstuff.com.
I had been thinking about doing a cookie exchange this past Christmas but I never got around to organizing it! I think you have some great tips here and I’ll definitely plan to use them this Christmas to do that cookie exchange this time!
Thanks Krista. It’s good fun and a great excuse to get together with friends and family during the holiday season!
Love this idea! Great post 🙂
Thanks Karen. If you have any great ideas for a cookie exchange, or any recipes you would like to share, I would love to hear them! Post a link to your site in the comments if you do.