
This winter will be a rough one for me. Sigh…I had to retire my car…Put her out to pasture, so to speak. She was far too broken to make it worth fixing. I supposed I could have let her limp along until finally breaking down on the side of the road, but I figured with the winter, there comes snow and ice and that makes for slippery, dangerous conditions. I didn’t want to chance hurting myself, or even worse, hurting someone else! So now she’s gone…gone…gone….
So, you may be thinking “How does this tie in to freezing veggies?”. Well, let me tell you. I am really not a winter person. Don’t get me wrong, I love those big, fluffy snowflakes, I like to take walks in the winter (when it’s not “freeze your nose off cold”), I love tromping around with the fresh snow crunching underfoot while I admire Christmas lights and I even like ice skating! But the one thing I absolutely hate is having no choice. When I do the above, I am consciously making that choice to do so. When I have to walk to the grocery store in the snowy, stormy weather and carry back bags of heavy veggies, that’s a must…not a want. I don’t get a choice. Well, I guess I could choose not to eat that stuff. Seaweed is lighter…I could eat seaweed. Yeah…no, not a chance!
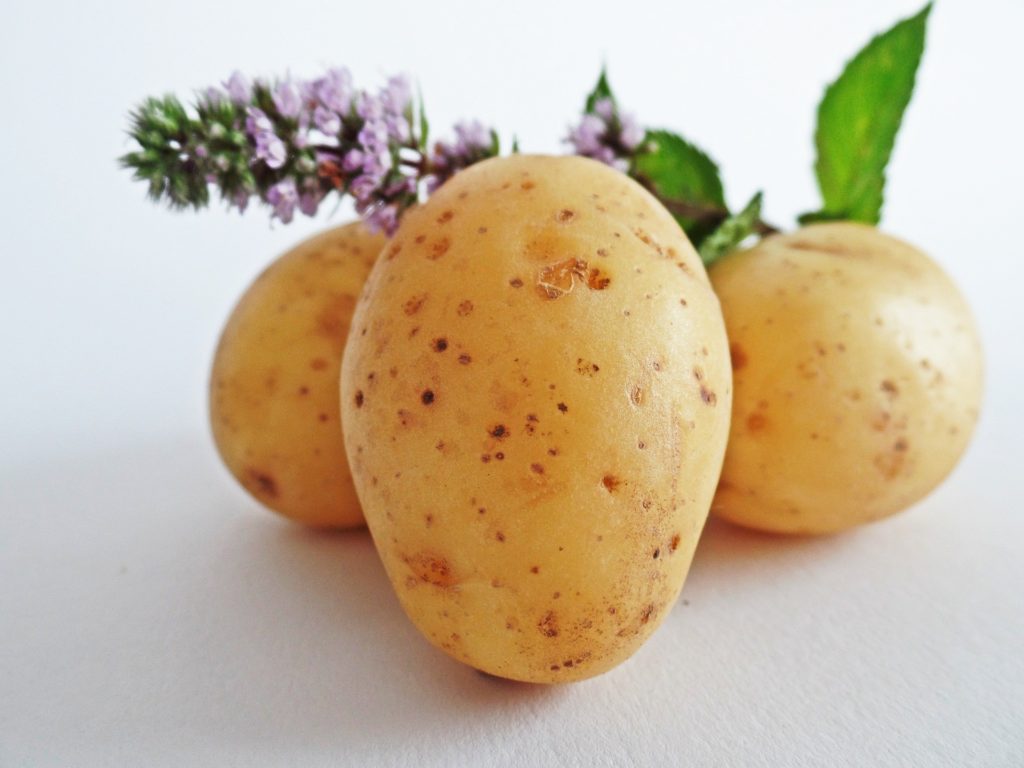
Image by Holger Langmaier from Pixabay 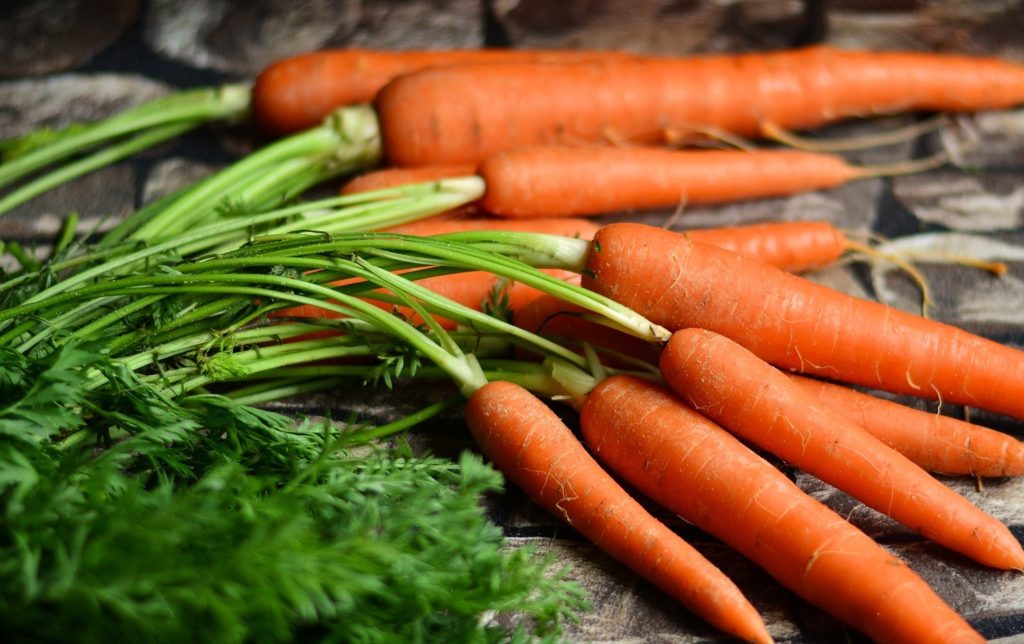
Image by congerdesign from Pixabay
Potatoes, carrots, turnips, squash are all heavy veggies! And since I will be walking most places this winter, now that my inconsiderate car decided to kick the bucket, doing so, while carrying groceries, seems to be in my near future. (Side note: I’m way to cheap penny pinching….frugal, yeah…let’s go with frugal, to pay for a cab or Uber when the grocery store is only a 15 minute walk away!)
So, the day before “bye, bye car” day, I drove to the grocery store to stock up on some heavy items. I’m so glad I did, because there were some great sales going on. Bags of carrots were on sale for $1.97, they also had bags of turnip (or rutabagas) for $2.00 and best of all was the 10 lb bags of white potatoes on for $1.97 (normally $5 or $6). I got two bags of carrots, two bags of turnips and three, yes three, bags of potatoes. Someone in the cash line asked if I was having a dinner party. My replied “No, just really hungry today.” Hahaha.
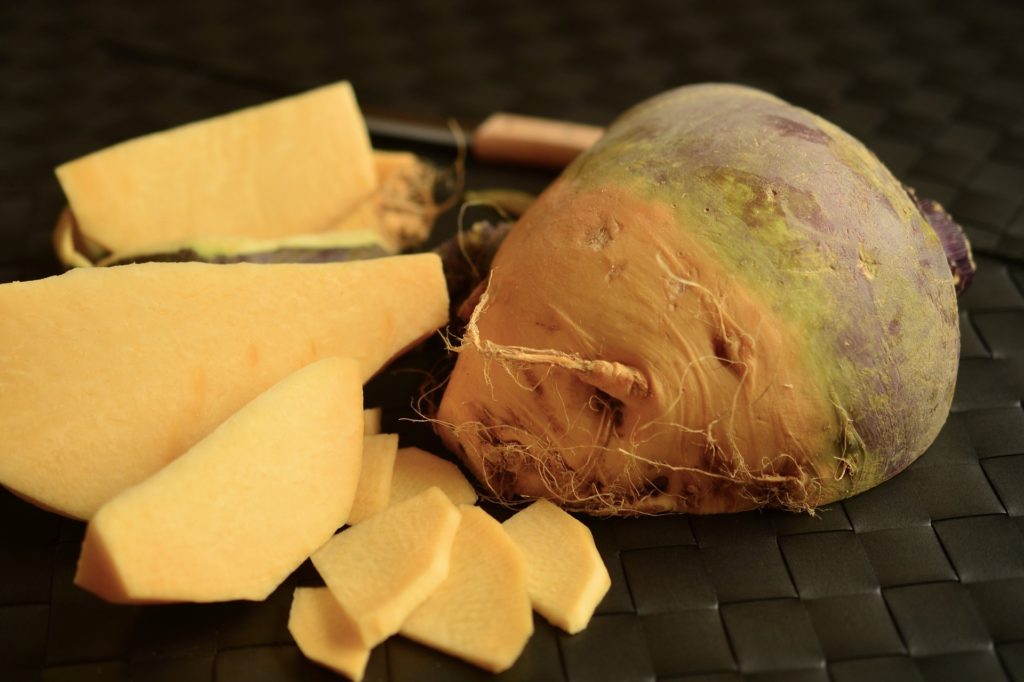
Image by congerdesign from Pixabay 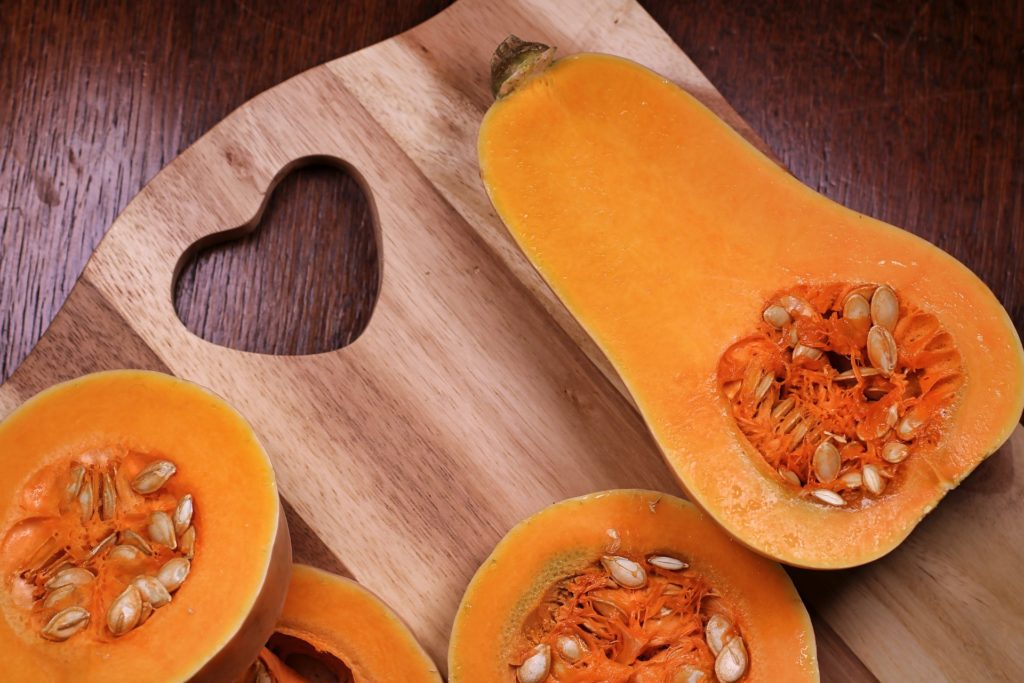
Image by Nick Collins from Pixabay
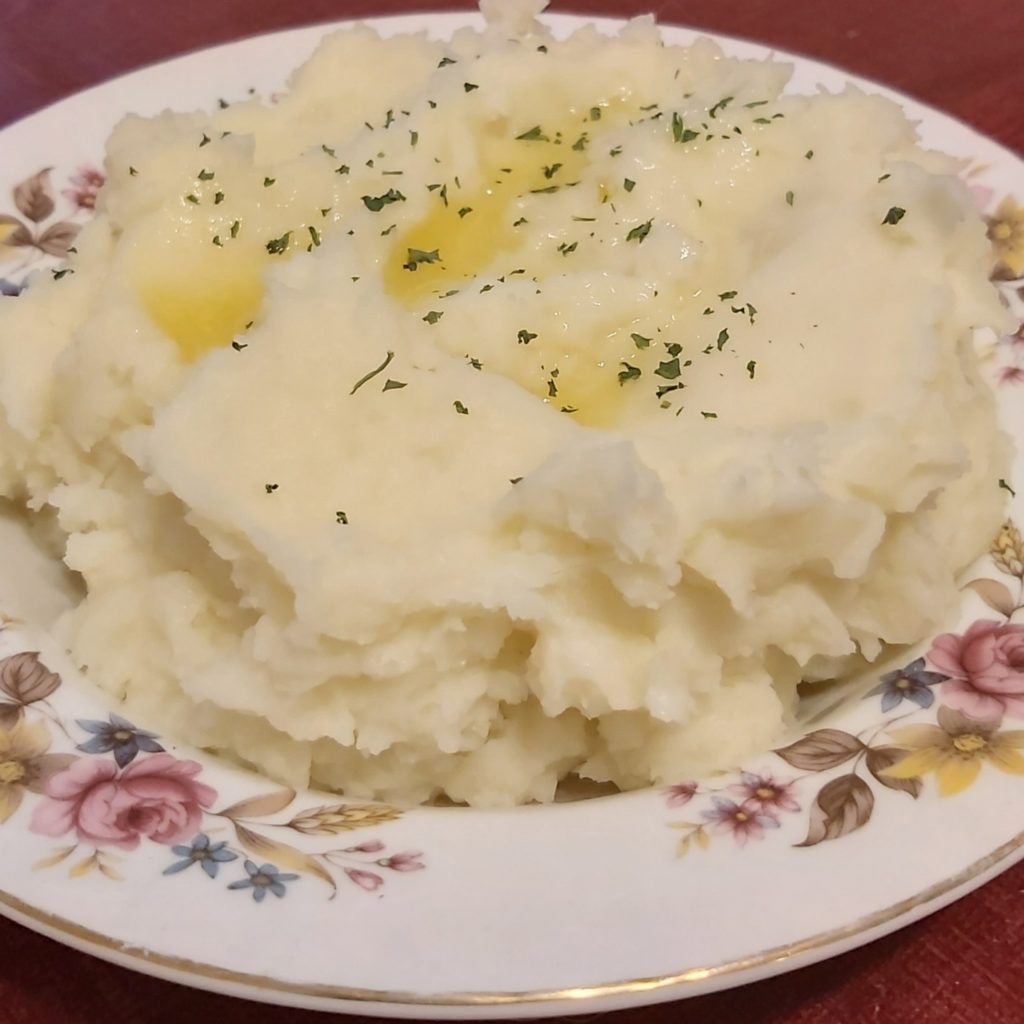
Now, a flashback to several years ago…I was visiting my Mom in Nova Scotia and she made a whole lot of mashed potatoes. I asked her how hungry she thought we all were and she replied that she made extra so she could freeze some. Hmm…freezing mashed potatoes. That sounded intriguing. I asked all the questions that are probably going through your mind right now. Do they taste the same after they are defrosted? Do you put butter and milk in them when mashing or wait until after defrosting? Do you just stuff them in a container and freeze the whole thing? How?? Tell me please, I need to know!
She patiently answered my questions. “First of all”, she said, “they taste just the same after you defrost them if you heat them in the microwave and stir them a few times during the heating. And sometimes I put butter and milk in them before freezing, sometimes I don’t. Either way works just fine.”
“OK, that’s great!” I replied. “How do you freeze them then?” “Well, let me just show you” she replied.
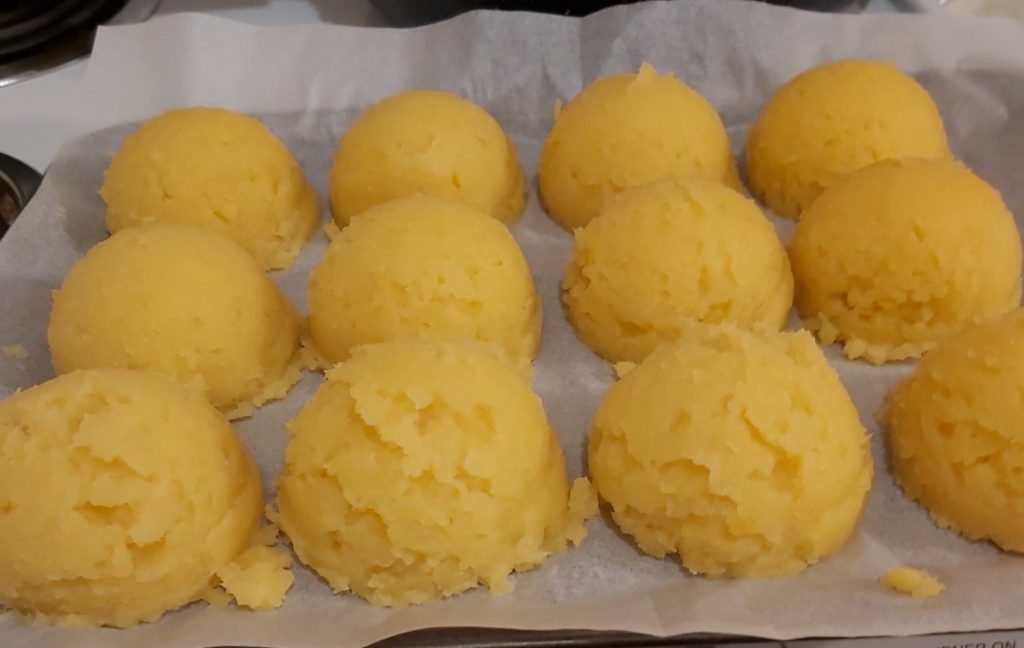
So after we ate as much of the mashed potatoes as we possibly could, Mom put me to work. She handed me an ice cream scoop, you know…the one with the trigger thingy for releasing the ice cream after you scoop it. She then set out a baking sheet and lined it with parchment paper. Pointing to the pot of leftover potatoes, she told me to start scooping. So I scooped the potatoes and lined up the mounds on the parchment paper lined tray.
Once I had all the potatoes scooped out, she told me to take the tray to the freezer and sit it in there. We would go back in a couple of hours to check them and if they were solid, they could then be put in freezer bags and stored away back in the freezer.
This process works well with potatoes (regular and sweet), squash that you would normally mash, turnip (rutabaga) or carrots. You could also do a mashed turnip and carrot combo. The two flavors combine really well.
Read on and I will share this process with you!
Disclosure: Some of the links are affiliate links, meaning, at no additional cost to you, I will earn a commission if you click through and make a purchase.
Three easy steps to freeze your mashed veggies!
This is a great way to store leftover veggies, or buy in bulk, cook and freeze for future use. Just think…No potato peeling for that holiday dinner, just grab from the freezer and right into the microwave!
Step #1 – Cook your vegetables
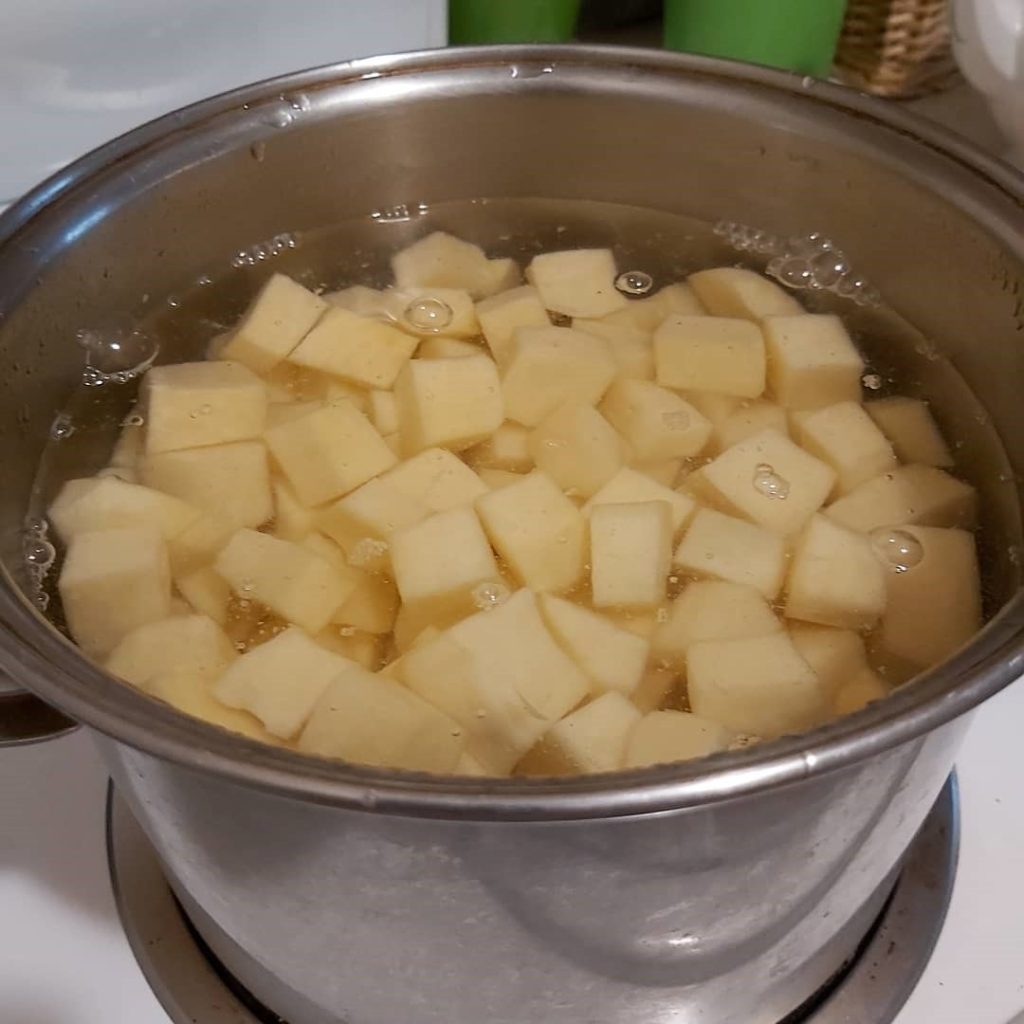
- Peel, wash and cube your vegetables.
- Put the cubed vegetables in a large pot.
- Add enough cold water to cover the vegetables and turn the heat on high until they start to boil. At this point, turn the heat down to medium so the pot doesn’t boil over.
- Test the vegetables with a fork. They will be done when the fork pierces them easily and the chunk starts to break apart.
- Turn off the heat and strain the vegetables with a colander. Put them back in the pot, or a large heat resistant bowl.
Step # 2 – Season and mash
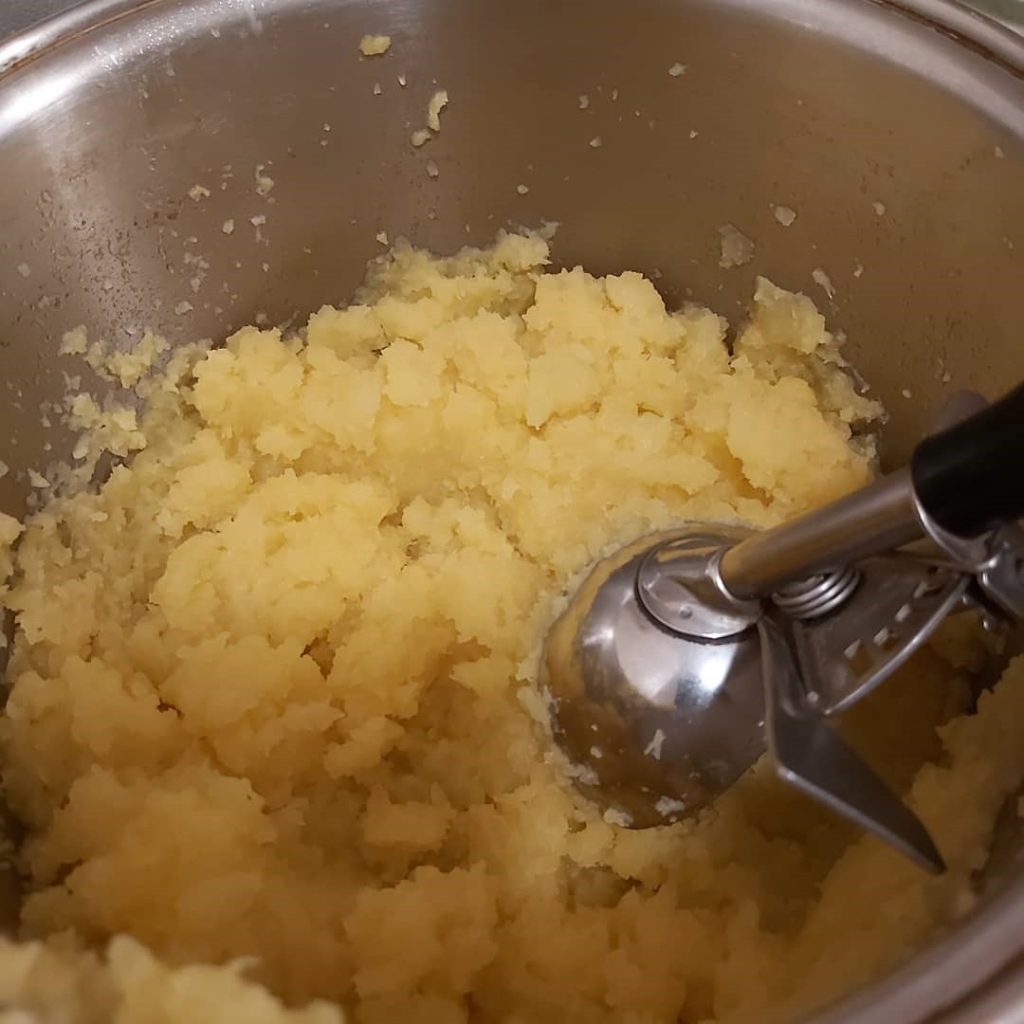
- Mash your vegetables with hand held potato masher until no lumps remain.
- This is the time to do add ins:
- Potatoes – you can add salt, butter and milk at this point, but it’s not necessary. You can always add them later when defrosting.
- Carrots – you can add a little butter now or later when defrosting
- Turnips (rutabagas) – you can add a little butter and if the turnips are bitter, you can also add a spoonful of sugar (I prefer brown sugar).
Step # 3 – Scoop and freeze
- Line a cooking sheet with parchment paper.
- Using an ice cream scoop, mound your vegetables onto the line sheet, making sure they are not touching.
- Place the cookie sheet, uncovered, in the freezer, making sure that it is flat so the scoops don’t move around.
- Once the scoops of vegetables have frozen solid, remove them from the tray and store them in a large, sealed (ziploc) freezer bag. Make sure you remove the air from the freezer bag for a longer life. (I use a straw to suck out the air.)
- Place the bagged vegetable scoops back in the freezer.
When you are ready to use the veggies you have frozen, take out the amount of scoops you want and put them in a microwave safe dish. Heat in one minute increments and stir after each minute. It’s as easy as that!
I have saved so much time over the last few years by freezing “my scoops” as I call them. Dinner prep is so much quicker and easier. I can focus on the main item and not have to worry about peeling, watching so it doesn’t boil over, mashing and the best of all, less dirty pots to wash afterwards!
Leave a comment and let me know what you think.
A couple of weeks ago potatoes were on sale at No Frills and just today I noticed that they’re starting to get a little soft. So, guess who’s gonna boil the whole lot of them tomorrow? This article came at a great time for me. Keep up the great work Jeanne!
Thanks Teresa. I’m glad I could be helpful!
What a great idea! I honestly had no clue you can do this!
Oh yes, it’s so convenient. I will be experimenting with other types of veggies in the future to see which other ones work. Let me know if you try any and how it worked out.
LOVE IT!! I usually freeze mash in Tupperware but this would take up less room and good when I only need 1 serving….
Yes, it’s perfect for individual servings!