Learn how to tell when rhubarb is ready to harvest, how to pick it and last but not least…get some great recipes!
Click here to go directly to my rhubarb muffin recipe.
I am fairly new to cooking and baking with rhubarb. The first time I tried was last year when my neighbor told me I could use some of the rhubarb that was growing in our little shared “backyard garden”. The garden is so small it only has room for the rhubarb, a couple of cherry tomato plants and one strawberry plant….so tiny!
The first thing I had to do was some research. I needed to know how to tell if the rhubarb was ripe enough to harvest and of course how to pick it. I got some great information from this site: Gardening Know How. Did you know that the leaves from the rhubarb can be poisonous? I didn’t until I did research. So, make sure you only use the stalks! Put the leaves in the compost!
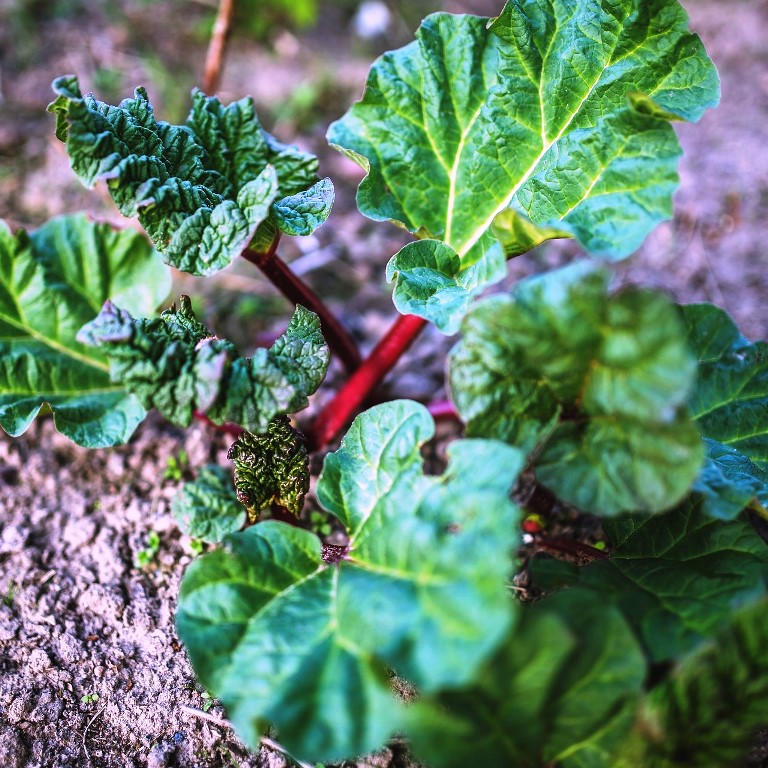
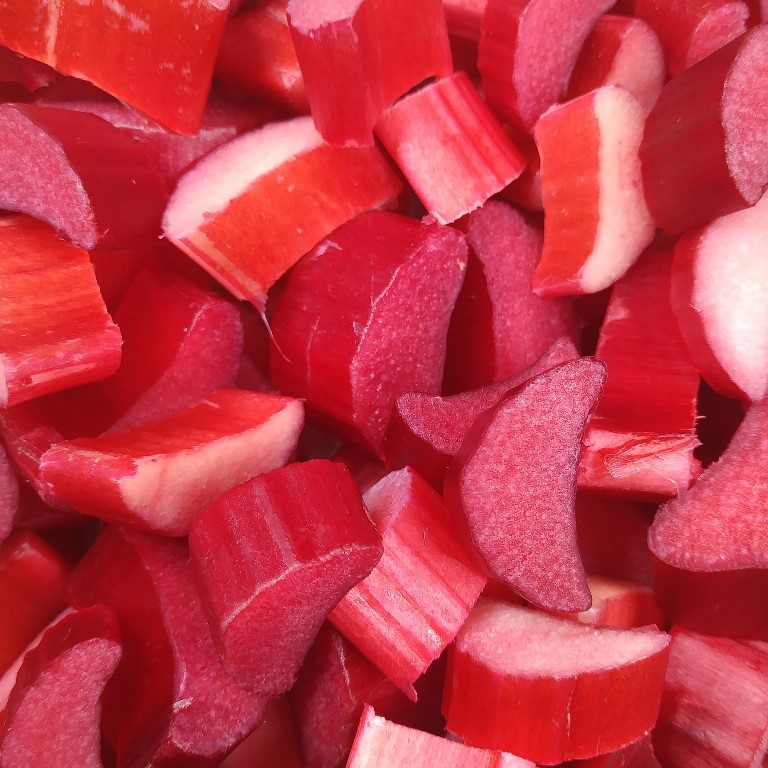
Armed with my newfound knowledge and a basket. I preceded to harvest some rhubarb. I wasn’t sure what I wanted to make right away, so I cut the rhubarb stalks in 1 inch pieces and froze them. (I learned how to do this from my good friend, Martha Steward…well, from her website anyway – How to Freeze and Store Rhubarb.)
Once again, this year, my neighbor told me to go ahead and use up some of the rhubarb. So I picked about enough to yield two cups once trimmed and cubed and then I spent a couple of hours going through recipes and trying to decide what to make.
I managed to narrow it down to a strawberry rhubarb crisp or rhubarb muffins. The deciding factor was that I really wanted to use my strawberries for a different recipe, so I decided to carry on with the muffin idea. After looking at multiple recipes I wasn’t quite happy with any of them. So, as I tend to do…I combined what parts and ingredients that I thought would work, and went from there.
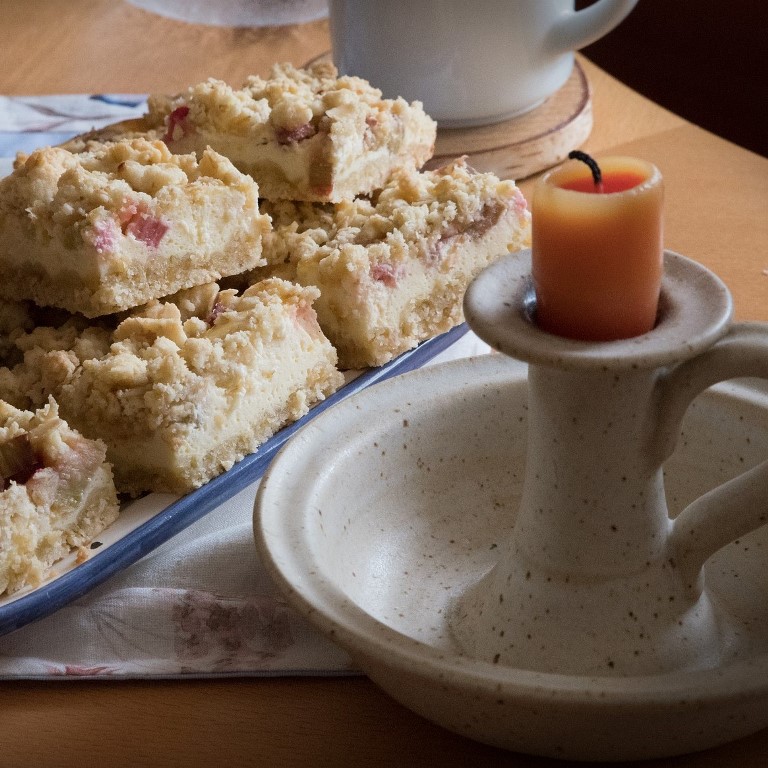
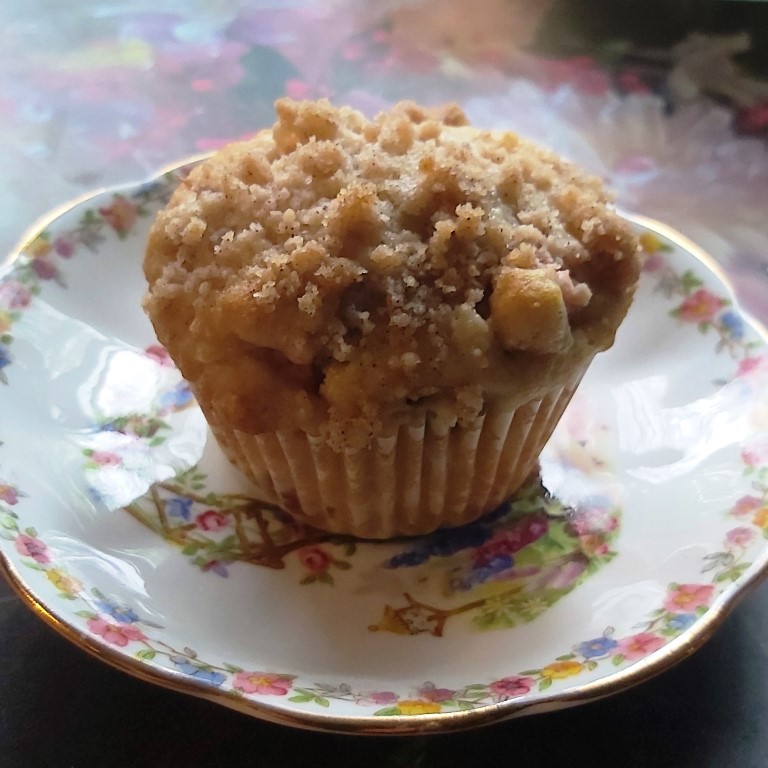
Let’s make my Rhubarb Crumble Muffins!
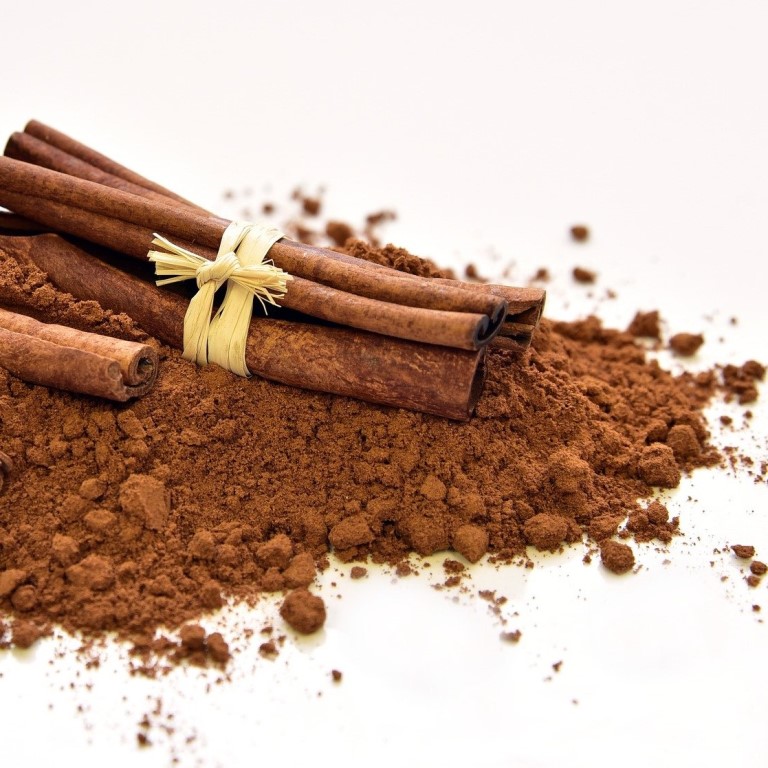
Now that I had the rhubarb all cut up, it was time to get serious and start baking. I added flour, baking powder, salt, sugar and cinnamon into a large bowl and whisked until it was all evenly combined. I dumped the rhubarb bits into this flour mixture and tossed them with a wooden spoon to coat thoroughly. This helps to keep them from all sinking to the bottom of the batter while cooking.
In another mixing bowl, I combined the wet ingredients (milk, vegetable oil and eggs). I whisked it well until everything was completely combined.
Now, here’s the tricky step…I poured the wet ingredients into the bowl with the dry ingredients and mixed gently with my wooden spoon. You have to make sure you don’t mix too much because apparently the baking gods will throw down their wrath upon your muffins and make them heavy and tough. So I made sure to only mix until the ingredients were all just combined. It’s totally OK if there are still lumpy bits, just make sure there aren’t large pockets of dry ingredients left.
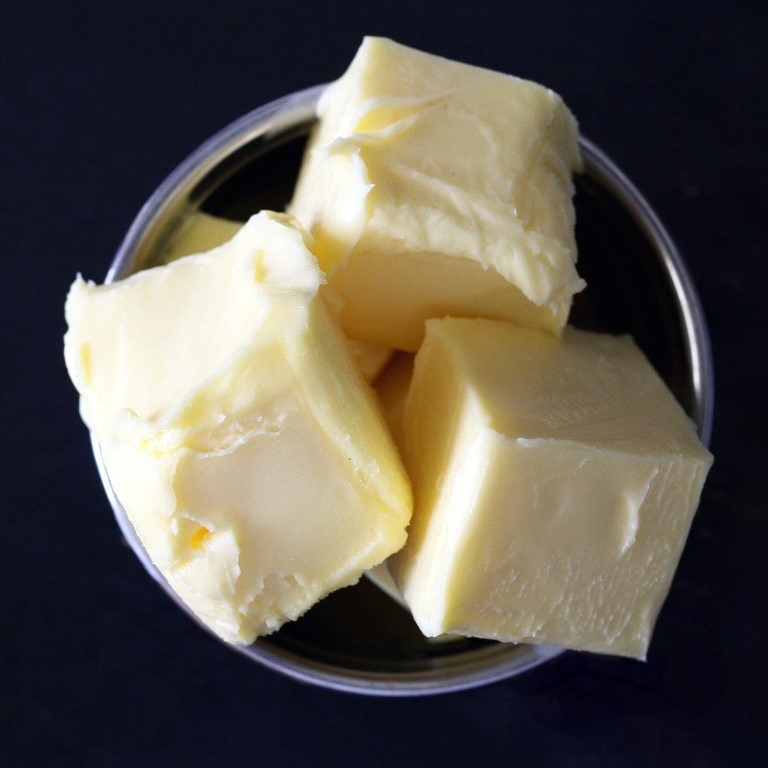
I put the bowl with batter aside for the moment, so that I could work on the topping mixture. I just added all ingredients in a medium bowl (except 1 tbsp of the melted butter) and used a fork to to mix together until it was nice and crumbly. I actually had to add the reserved tablespoon of butter at this point because it looked and felt a bit too dry to me.
Almost there now…I added paper liners into my muffin tin cups and distributed the batter evenly between the twelve cups. They were quite full but I knew that would be fine. With a small spoon, I sprinkled the topping mix over the tops of all the muffins and popped the tray into the oven.
I set the timer for twenty minutes and started to clean up my work area. Ugh…I need a maid…or kitchen elves. Hmmm…I wonder if they make disposable mixing bowls…no, never mind…that would totally not be environmentally friendly.
Anyway, dishes washed, kitchen cleaned and I even had a few minutes to pick up my book before the timer went off. Then I pulled the tray out and checked with a wooden toothpick. Nope, wasn’t done yet. The toothpick had some wet batter clinging to it…so back in the oven they went. I set the timer for another five minutes and voila, they were done.
I set the hot muffin pan on a rack to cool for about 5 to 10 minutes and after that, transferred the still hot muffins to another rack to finish cooling. (Yep, I have multiple cooling racks. I think I hoard them…)
Now, it’s always hard to wait for the baking to cool…but I did. Finally, the muffins were ready for the taste test. Nothing left to do now but eat them up! I ripped open the first one and ate it up. The muffins were great. I shared some with the neighbors who let me use the rhubarb and they liked them too. Success!
Try them yourself and see what you think. Just a tip, if rhubarb is not in season and you want to try this recipe, it works well with strawberries too!
Rhubarb Crumble Muffins
Ingredients:
Muffins:
- 2 1/2 cups flour
- 3 tsp baking powder
- 3/4 tsp salt
- 1 cup white sugar
- 1/2 tsp ground cinnamon (heaping)
- 2-3 cups fresh, chopped rhubarb (cut in small pieces)
- 1 cup of milk (I use 1%)
- 1/2 cup vegetable oil
- 2 eggs
Topping:
- 1/2 cup flour
- 1/3 cup white sugar
- 1/2 tsp baking powder
- 1/2 tsp cinnamon
- 4-5 tbsp melted butter (cooled)
Directions:
- Preheat oven to 350 F and line a 12 cup muffin tin with paper liners.
- In a large bowl, add flour, baking powder, salt, sugar and cinnamon and whisk together to combine.
- Add the rhubarb pieces and toss them well to coat with the flour mixture.
- In another bowl, add the milk, vegetable oil and eggs. Whisk well until completely combined.
- Pour the mixed wet ingredients into the bowl with the flour/rhubarb mixture. Mix until just combined. Do not over mix.
- Make your topping mixture now by combining all the topping ingredients and mix with a fork until crumbly. (I start with 4 tbsp of the melted butter and then add more if necessary to make it crumbly.)
- Distribute the muffin batter evenly into the 12 lined cups of the muffin tin. You shouldn’t have any batter left over. Sprinkle topping mixture over each muffin.
- Bake for 20 to 25 minutes or until topping is a golden brown and a toothpick inserted comes out clean. (I check at 20 minutes and then put back in oven if not ready.)
Check out these other great rhubarb recipes:
Rhubarb Crisp
Rhubarb Jam
Rhubarb Coffee Cake
Rhubarb Cream Cheese Bars