
Oh boy, I recently got myself a bread maker! And what perfect timing; with the Covid-19 virus going around, it’s been hard to find bread in the stores.
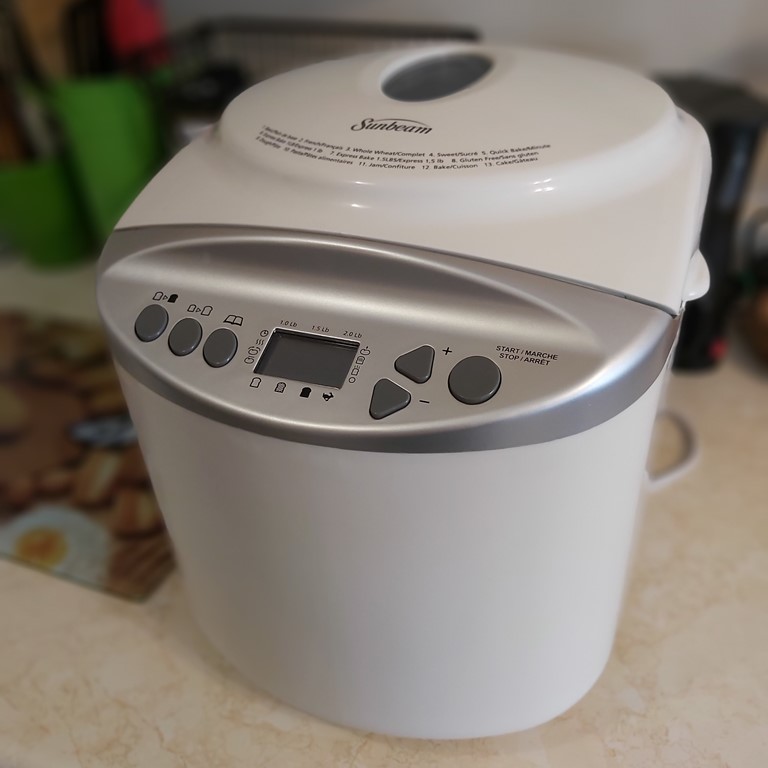
About two months ago, I had some Amazon Gift Cards and wasn’t sure what I was going to use them for, and then I saw an add for this cool bread maker. I had enough on my gift cards to almost completely pay for it. I only had to put in a few dollars. What a deal!
So after only a couple of days, the package came in by courier. How exciting! You know I was ripping that box open right away, like a kid on Christmas morning.
Click here to shop!
There I was, flipping through the instruction manual/recipe book that came with it and was in awe of what it can make. Obviously, I knew I was going to be able to make bread with it…but I had no idea what a variety of options it would allow!
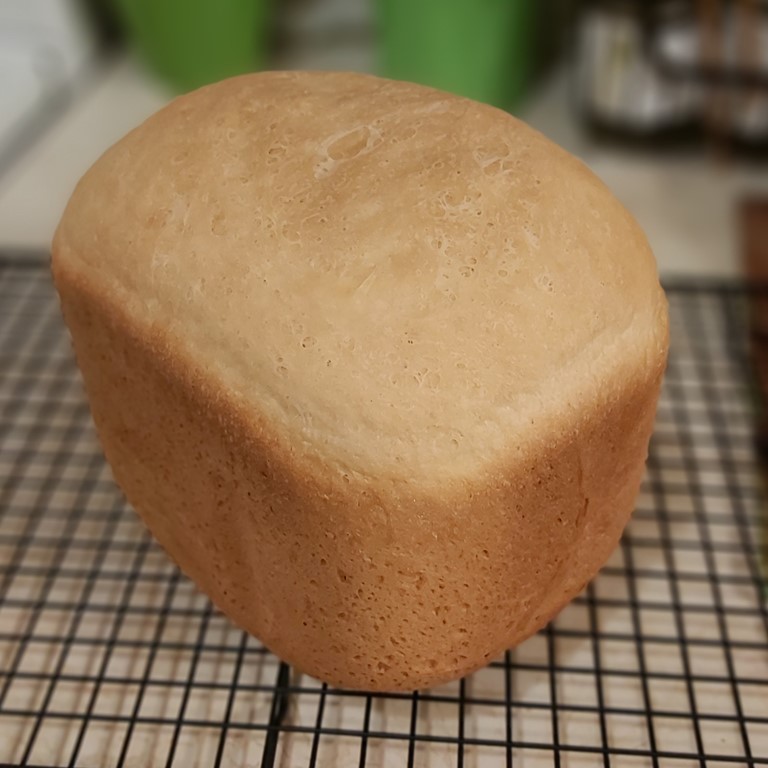
So far I have made the classic white bread, which turned out great. Soft and fluffy inside with a nice crusty exterior. I had a piece while it was still warm with only butter. It was so good! Brought me back to the days of high school when I would go to my friend’s house for lunch and her mother (whom I considered my second mom) would have Kraft Dinner and home-made bread all ready for us. And I mustn’t forget in more recent years when I was home for a visit during my convalescence and my Aunties took care of feeding me with home baked goodies like cakes and pies and of course home baked buns.
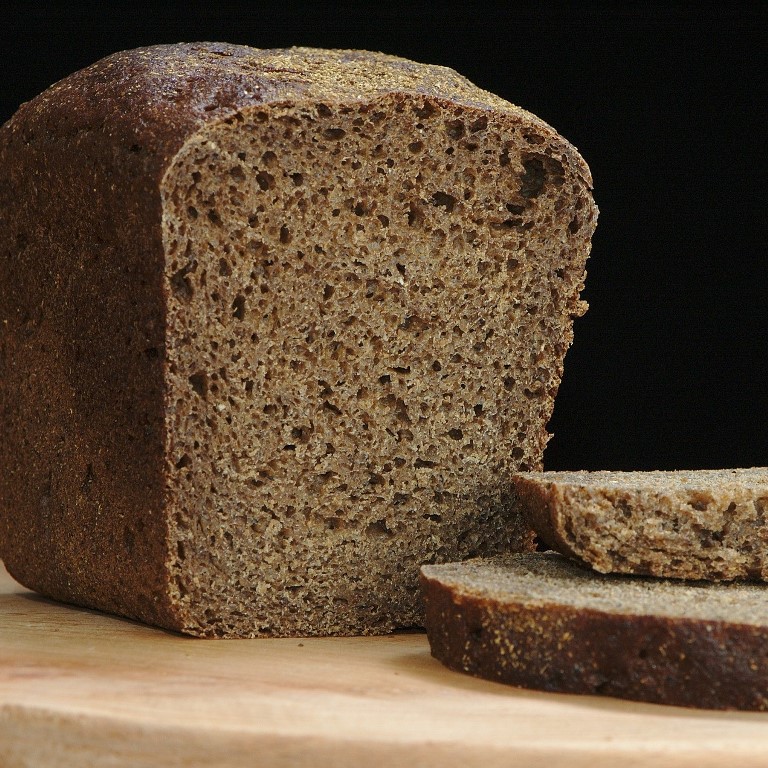
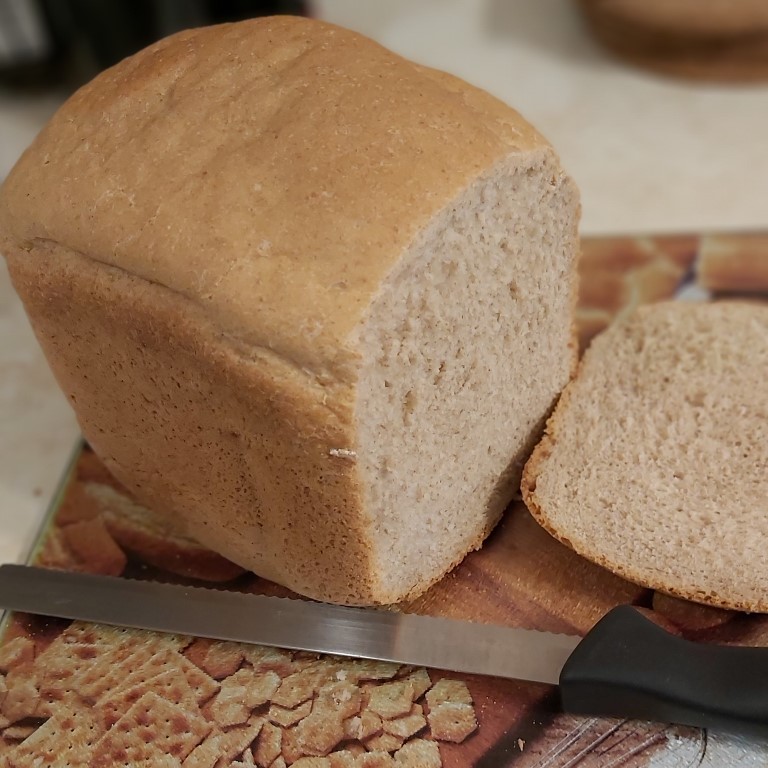
And then I decided I should try a light rye bread for variety. That turned out even better! Usually, when I buy light rye in the grocery store, it has a firm, dense feel to it. Nothing wrong with that, of course, but I like my bread a little softer. Guess what?? The light rye bread done in my bread maker turned out softer and wonderfully tasty. I put a few slices in the freezer to see how they fare after defrosting. If it works out, I’ll be baking a couple of loaves and freezing them, so that I can just pull out a few slices when I want them.
So, back to the Covid-19 thing…I have been craving a pizza lately, but am abstaining from ordering take out food, because I can’t control the sterilization processes used in those places. I figure it’s better to stay away and be safe. I remembered that I saw instructions on how to make pizza dough in the booklet that came with the bread maker. I figured it couldn’t be too hard. The machine is supposed to do all the work, right? And I did buy a 22 lb bag of flour last time I went shopping!
So I got out the book to see what I needed for the dough. Surprisingly enough, there aren’t too many ingredients. I needed flour, salt, yeast, water and olive (or vegetable) oil. This was really gonna happen. Oh yeah, right…and of course, I looked in the fridge to make sure I had lots of stuff to top the pizza.
- Sauce…check
- Mozzarella cheese…check
- Fresh mushrooms…check
- Green pepper…check
- Pepperoni…check
Got everything I like on pizza! Now I needed to try making the dough. So I loaded all the ingredients into the bread pan, liquids first. I put in a cup of water and two tablespoons of olive oil, then added 3 cups of flour just on top of the water. Next, I sprinkled 1/2 a teaspoon of salt on top of the flour and then made a well and poured 1-1/2 teaspoons of dry active yeast in it. Whew…that was hard work. Hahaha.
Next thing to do, close the lid and choose the setting. My bread maker had #9 as the dough setting so that is what I picked. The digital timer showed a countdown starting at 1:31. So for the next hour and thirty one minutes, my machine, stirred, kneaded and made some weird whirring noises every now and then. During this time, I prepared my toppings; cut up the veggies and shredded cheese, etc.
After the machine worked it’s magic, the timer buzzed and I had me a ball of pizza dough, I quickly greased a large, metal mixing bowl and turned my ball of dough out into it. I covered it with a clean dish towel and let it sit to rise a bit more (and let the clock get closer to dinner time).
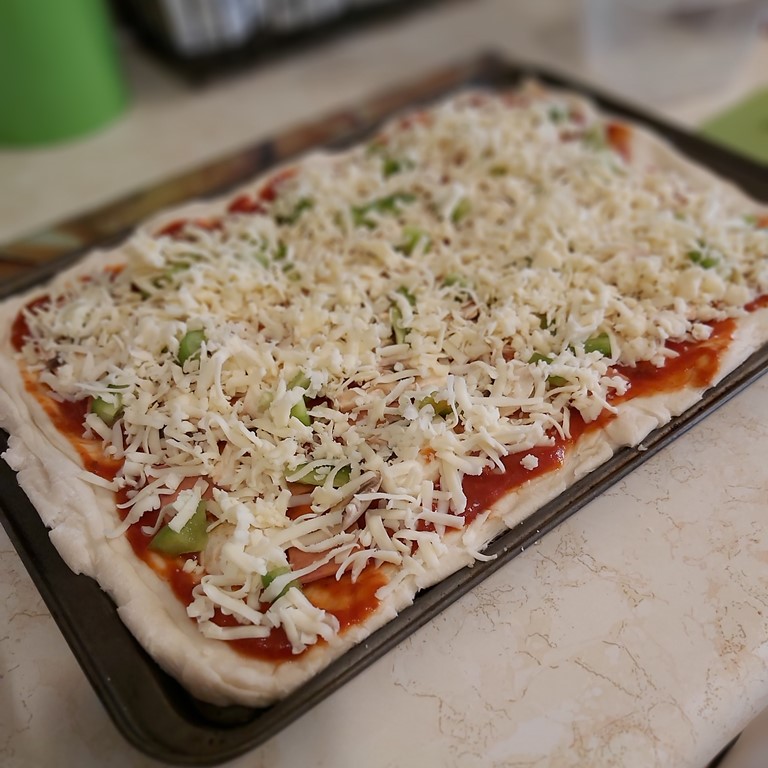
I was now ready to prepare the pizza. I first preheated the oven to 400 F. I had decided to use a non-stick cookie sheet to make my pizza, so I greased it up with some shortening and set it aside. I took the dough out of the bowl and manipulated it with my hands into the approximate shape of the sheet then I laid the dough out and gently pushed it to the edges so that it covered the whole area. There seemed to be a lot of dough, so I figured it would be like a deep dish pizza. That’s fine with me.
Time to put the toppings on! I took my prepared veggies and meat and placed them evenly around the surface. I then liberally sprinkled the shredded mozzarella cheese all over the top. I like lots, and lots of cheese! I could probably be happy with just cheese and sauce, but I wasn’t the only one going to eat it.
Pizza was now ready to go in the oven. The instructions said bake it for 15 to 20 minutes. I set the timer for 15 and did a quick clean up of the prep area. When the timer went off, it looked like it could use a few more minutes so I put another 5 on the timer. And waited….it was starting to smell really, really good in my kitchen.
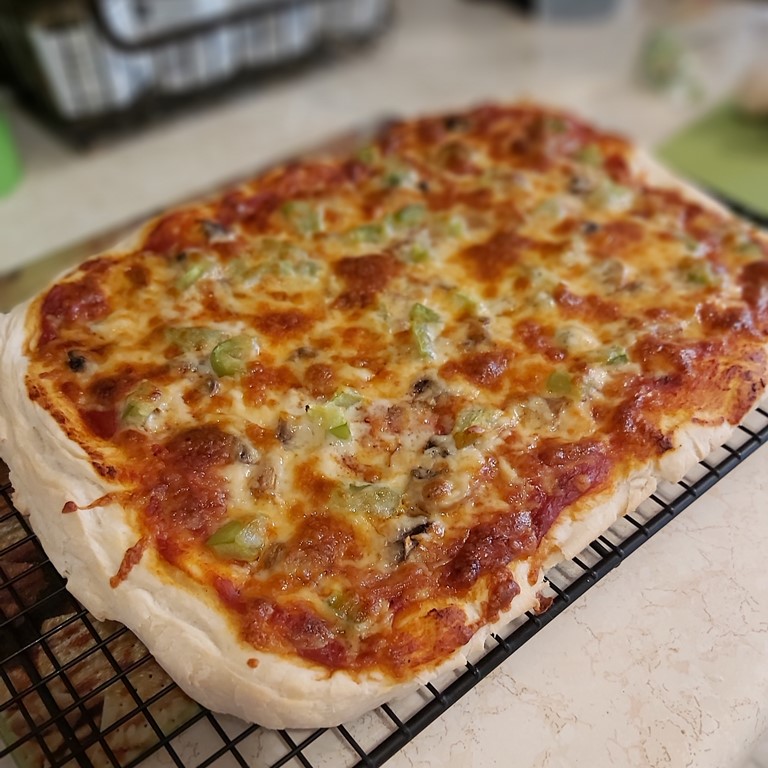
Buzz…timer went off and I took the pizza out of the oven. It looked good and smelled even better. I figured I better let it cool off some before trying to eat it or I would end up with a burnt mouth.
After a ten minute wait, it was now time for the taste test. I cut the pizza in eighths and grabbed a couple of pieces. Wow, this was really thick crust pizza (note to self: maybe try a larger pan or cutting the dough into two pizzas next time). But even with the extra thick crust, the pizza was really good. The crust cooked perfectly and unlike some of the thick crust pizzas I have ordered in the past…the center was cooked completely. I will most definitely be making my own pizzas when I have the time from now on!
If you have a bread maker and want to make some pizza dough, click here for the recipe and instructions.
I am quite in love with my bread maker and will be trying out many more variations over the next while. Stay tuned for more shares!
Six Great Reasons to Use a Bread Maker:
1. NO HAND KNEADING
The bread machine comes with a kneading paddle that sits on a post on the bottom of the bread pan. You measure your ingredients into the bread pan, close the lid and let the machine do all the work. The paddle mixes the ingredients and once they come together into a doughy mass, the paddle keeps working it as if it were being kneaded.
2. SET IT AND FORGET IT
No matter if you are just making dough (to later bake in oven) or you want to cook a loaf of bread, you can set the machine and let it do all the work. The timer will tell you when the dough is ready or when the loaf of bread is cooked. All you do is open the lid and remove the finished product.
3. LIMITED SPACE TO BAKE
Does this scenario seem familiar…You are preparing dinner for friends or family and your stove top, counter space and oven are all in use. You wanted to serve fresh baked bread, but the oven won’t be free in time. Well, plug in your bread maker anywhere there is a flat, heat proof surface. You can make bread on that utility table in the garage if necessary!
4. CONTROL THE INGREDIENTS
By baking your bread at home, you can control what ingredients are going into the loaf. This option is very useful if you are feeding someone with allergies or are trying to control intake for medical reasons. You can be sure that there are no hidden preservatives.
5. VARIETY OF FLAVORS
If you are anything like me and like to try different types of bread, then a bread maker would be the perfect addition to your kitchen. (Or garage if you have limited space!) My particular brand of machine has instructions for White Bread, obviously…but it also tells how to make Potato Bread, Oatmeal Bread, Raisin Bread (gonna try that next!), Light Rye Bread, Italian Herb Bread, Whole Wheat Bread, Honey Grain Bread, Honey Wheat Bread, Buttermilk Bread, different Sweet Breads, Onion Soup Bread….and even Gluten Free Bread. I am quite sure that there are many more types of exotic bread recipes for the bread maker out there in the WWW also.
Click here to see manual with recipes.
6. MAKE THINGS OTHER THAN BREAD
Well, as you saw above, you can make pizza dough in the bread maker, but did you know you could also make pasta dough? Yep, that’s right. Pasta dough in the bread maker. Wow! And Soft Pretzel dough, yummy. My manual also shows that you can make jam. There’s recipes for Strawberry Jam, Orange Marmalade and Frozen Berry Jam. Oh my…and Coffee Cake! Remind me again why I need an oven? (See the above link for the manual if you want those recipes!)
There you have it folks! If you haven’t already, then I say do it now! Invest in a bread maker! The things it can do are mind blowing! Leave me a comments with your recipes, especially if you have something unique that you make in yours!