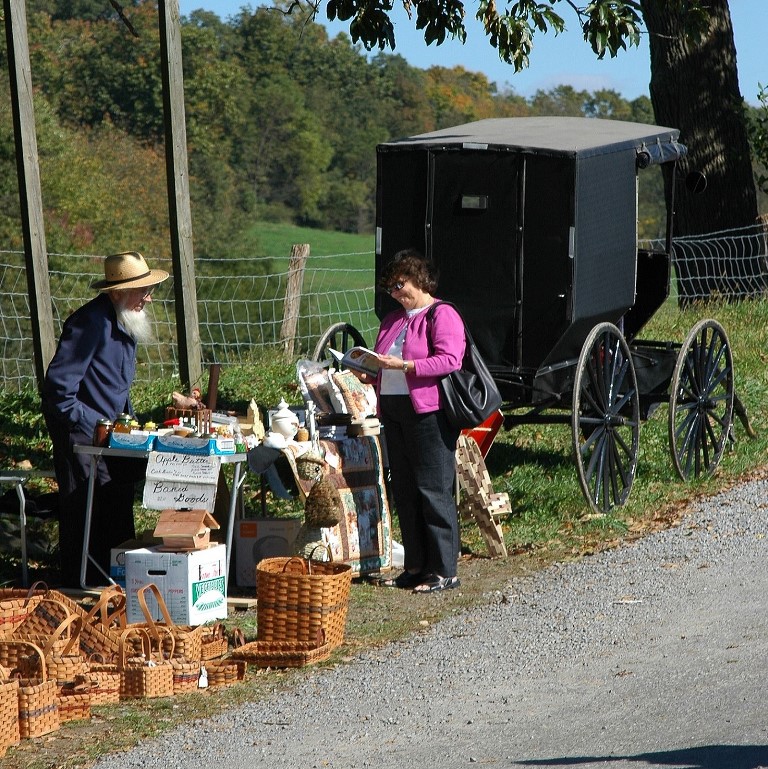
A long while back, someone that I worked asked me if I wanted a bag of “Amish Friendship Bread Starter”. (Thanks Fran M!) I wasn’t exactly sure what it was all about, or what exactly to do with it. So, of course, I did a bit of googling online and found out where the name Amish Friendship Bread originated. Basically, it’s like a baking “chain letter”, without the negative connotations when it is not passed on. If you’ve received a starter from someone, there’s a little bit of flour and love from their kitchen, as well as all the other kitchens before it.
Amish Friendship Bread is all about friendships and community. It’s about connection. It’s about fun. It’s about nurturing other people. Basically, pass on a bag of starter and you are sharing your friendship.
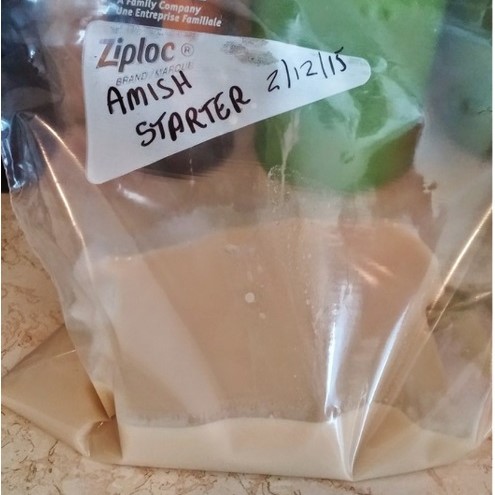
So I told my co-worker that I would love to have this wonderful thing. When she brought it in to me, it was a freezer bag filled with a gloppy, gooey batter-like substance that came with specific instructions.
Well, I followed the instructions for 10 days, adding flour, sugar and milk when indicated to the freezer bag and then other days only mashing the bag to mix up the batter. This was a totally foreign experience to me. I wondered several times if it was actually worth it.
On the tenth day (whew…I made it), I took my freezer bag of glop and put it in a bowl, added the specified ingredients, set aside a couple of bags of “new starter” and finally baked some goodies.
Once I got a taste of the first loaf that I baked, I was hooked. It was amazing. I thanked my co-worker for giving me that starter. I did some research and found out that this basic starter, with a few simple substitutions, could produce many, many flavor variations.
Over the next few months, I tested out many variations of this Amish Friendship Bread. I gave loaves to family, friends and co-workers. I donated some for charity bake sales and I froze some for future consumption. When I realized that my freezer was starting to overflow with all these goodies and I had run out of friends who wanted a “starter” bag, I decided to stop the process for a while. I made sure I had one last starter bag in my freezer for when I wanted to pick back up on the baking.
Then disaster struck! It happened right before Christmas a couple of years ago. A horrendous power failure due to severe ice storms. Some people were lucky and were only without power for a day, some for several days, others for almost 2 weeks. My area was without power for 4 days. Needless to say, I lost everything in my freezer including the “starter” bag. It took a while for us all to recoup from the after affects from that storm and since I didn’t have the “starter” bag anymore, I kind of forgot about the Amish Friendship Bread.

Just recently, someone mentioned it to me again, asking if I still make them. I started to wonder if I could make the starter myself. I did some online research and found out that it is quite simple. Today, I put together my first “starter” bag. I will follow the 10 day instructions and then get to baking. Keep reading after the instructions for the starter and you will find recipes for loaves using the Amish Friendship Bread Starter.
AMISH FRIENDSHIP BREAD STARTER
Directions:
- 1 (0.25 ounce) package active dry yeast
- ¼ cup warm water (110° F/45° C)
- 1 cup all-purpose flour
- 1 cup white sugar
- 1 cup milk
Directions:
- In a small bowl, dissolve yeast in water. Let stand 10 minutes.
- In a 2-quart glass, plastic or ceramic container, combine 1 cup flour and 1 cup sugar. Mix thoroughly with a whisk or fork.
- Slowly stir in 1 cup milk and dissolved yeast mixture.
- Cover loosely and let stand at room temperature until bubbly. Consider this day 1 of the 10 day cycle. For the next 10 days handle starter according to the instructions for Amish Friendship Bread.
Kitchen Notes:
The starter should be left at room temperature. Drape loosely with dish towel or plastic wrap or transfer to larger Ziploc freezer bag. Do not use metal utensils or bowls. If using a sealed Ziploc bag, be sure to let the air out if the bag gets too puffy.
Also, when you make a starter from scratch, you can sometimes end up with a much greater yield than 4 cups depending on the temperature of your kitchen and eagerness of your starter! If this happens, reserve one cup for baking and divide the remaining batter into Ziploc baggies of 1 cup each to freeze or share with friends.
Ten Day Instructions:
Day 1: Do nothing.
Day 2: Mash the bag.
Day 3: Mash the bag.
Day 4: Mash the bag.
Day 5: Mash the bag.
Day 6: Add to the bag: 1 cup flour, 1 cup sugar, 1 cup milk. Mash the bag.
Day 7: Mash the bag.
Day 8: Mash the bag.
Day 9: Mash the bag.
Day 10: Follow the directions below:
- Pour the entire bag into a non-metal bowl.
- Add 1½ cup flour, 1½ cup sugar, 1½ cup milk.
- Measure out equal portions of 1 cup each into 4 1-gallon Ziploc bags. *Most people will end up with 4-7 portions depending on how active your starter has been, especially if you made your starter from scratch.
- Keep one of the bags for yourself (or leave it in the mixing bowl if you plan to bake right away), and give the other bags to friends along with the recipe.
Now we bake!
Now, after ten days of caring for and adding to the bag of batter (see instructions above), I am ready to start baking.
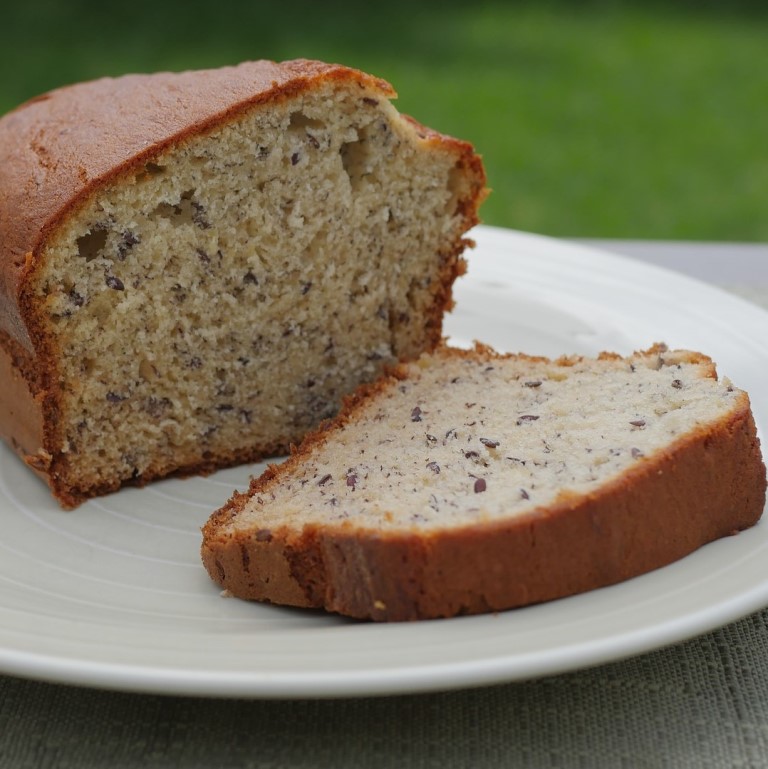
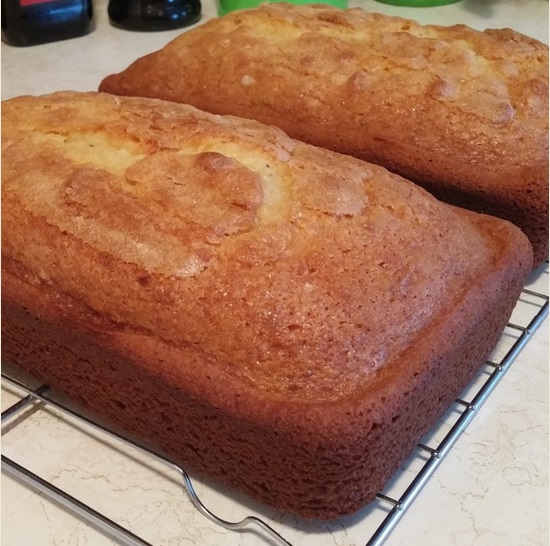
The basic bread (or loaf) that you can make with this starter is a cinnamon raisin. I usually call them loaves because they have that type of consistency.
This following recipe will make two loaves of Cinnamon Raisin, so make sure you have two loaf pans before you start!
Cinnamon Raisin Loaf (Basic Recipe)
Ingredients:
- 1 cup Amish Friendship Bread Starter
- 3 eggs
- 1 cup oil
- ½ cup milk
- 1 cup sugar
- ½ teaspoon vanilla
- 2 teaspoons cinnamon
- 1½ teaspoon baking powder
- ½ teaspoon salt
- ½ teaspoon baking soda
- 2 cups flour
- 1 box instant vanilla pudding
- 1 cup nuts, chopped (optional)
- 1 cup raisins (optional)
For Dusting:
- ½ cup sugar
- ½ teaspoon cinnamon
Directions:
- Preheat oven to 300° F.
- In a large mixing bowl, combine first 6 ingredients as listed. (Wet ingredients plus sugar.)
- In second large bowl, combine next 6 ingredients. (Dry ingredients.)
- Add dry ingredients into wet and stir with wooden spoon until completely combined. Do not use a metal spoon as it may have a reaction with the batter.
- Now stir in the raisins and nuts if using.
- Grease two large loaf pans.
- Dust the greased pans with the mixture of ½ cup sugar and ½ teaspoon cinnamon.
- Pour the batter evenly into loaf or cake pans and sprinkle the remaining cinnamon sugar mixture on the top.
- Bake for 40 to 50 minutes or until the bread loosens evenly from the sides and a toothpick inserted in the center of the bread comes out clean.
- Cool in pans on cooling rack for 10 minutes and then turn out onto cooling rack until completely cool.
Variations:
Butterscotch Pecan:
Omit cinnamon. Substitute butterscotch instant pudding instead of vanilla, Use butterscotch chips instead of raisins and use pecan pieces for the nuts (sprinkle some of the pecan pieces on top of loaf before putting in oven). Use just sugar to dust the pans instead of cinnamon sugar.
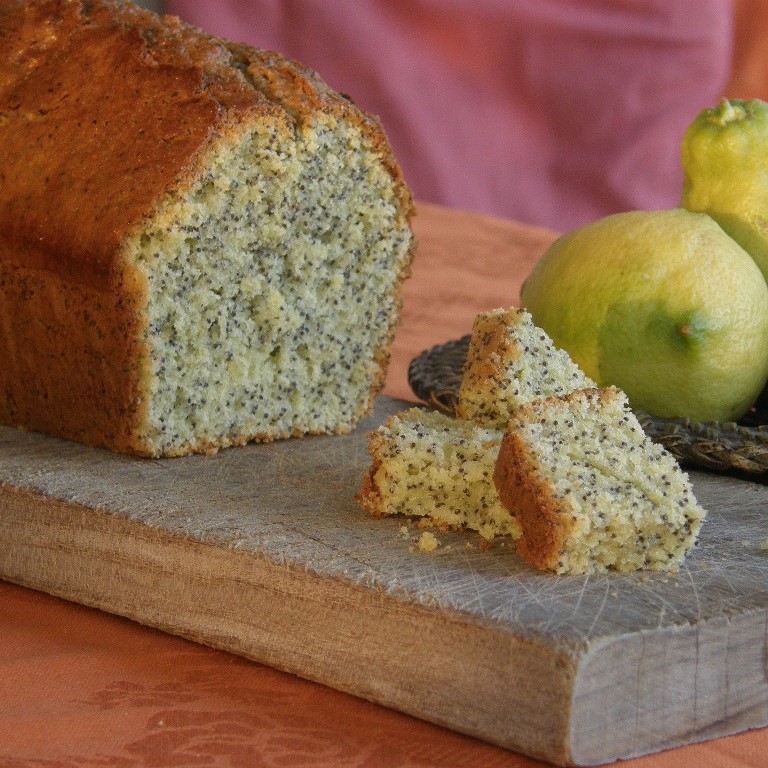
Lemon Poppy Seed:
Omit cinnamon and nuts. Substitute lemon extract instead of vanilla. Use lemon instant pudding instead of vanilla. Use 1/4 cup of fresh poppy seeds instead of nuts and raisins. Use just sugar to dust the pans instead of cinnamon sugar.
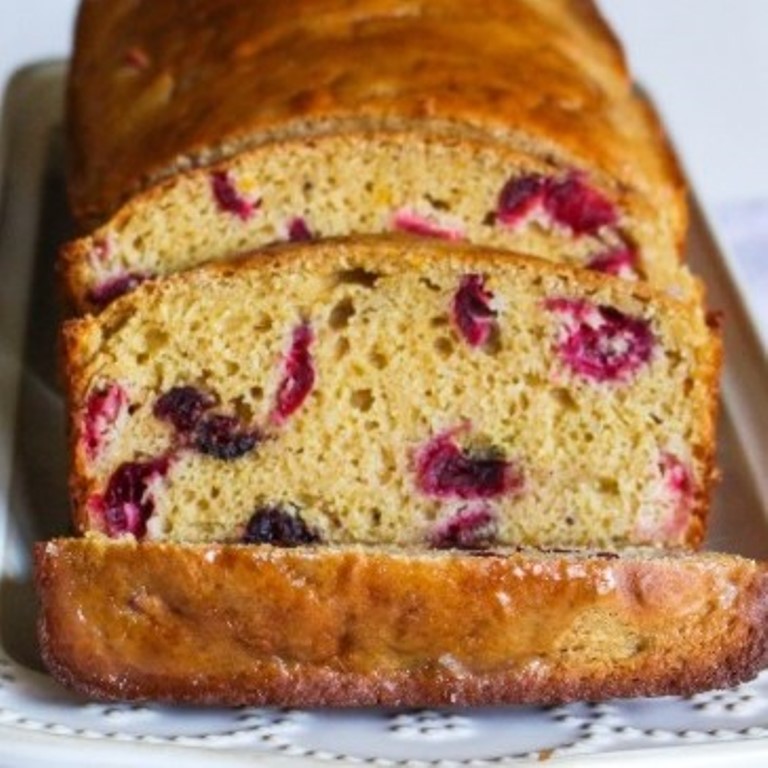
Cranberry Orange:
Substitute orange juice for milk. Before baking, stir in 1 tbsp grated orange zest and 1 cup dried cranberries instead of raisins.
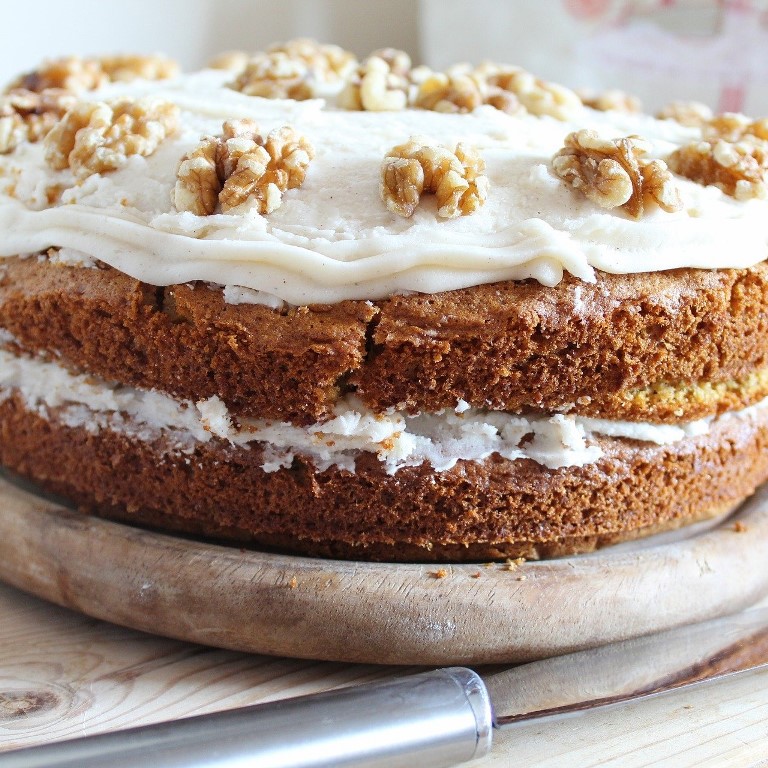
Carrot Cake:
Increase the cinnamon in the basic recipe to 1 tbsp. Add to the basic recipe the following ingredients:
3 medium carrots shredded
1/2 cup raisins
1/2 cup chunky homestyle applesauce
1 teaspoon nutmeg
1/2 teaspoon clove
1/2 cup chopped walnuts
Use a a bundt pan instead of a loaf pan. Bake until a wooden toothpick inserted in the center comes out clean.
Can be frosted with cream cheese frosting.